Lock Dowel Drawer Box Instruction Procedure
Purpose
Lock dowels are used to create a clean non fastener look for melamine boxes
Drawer Box Assembly
|
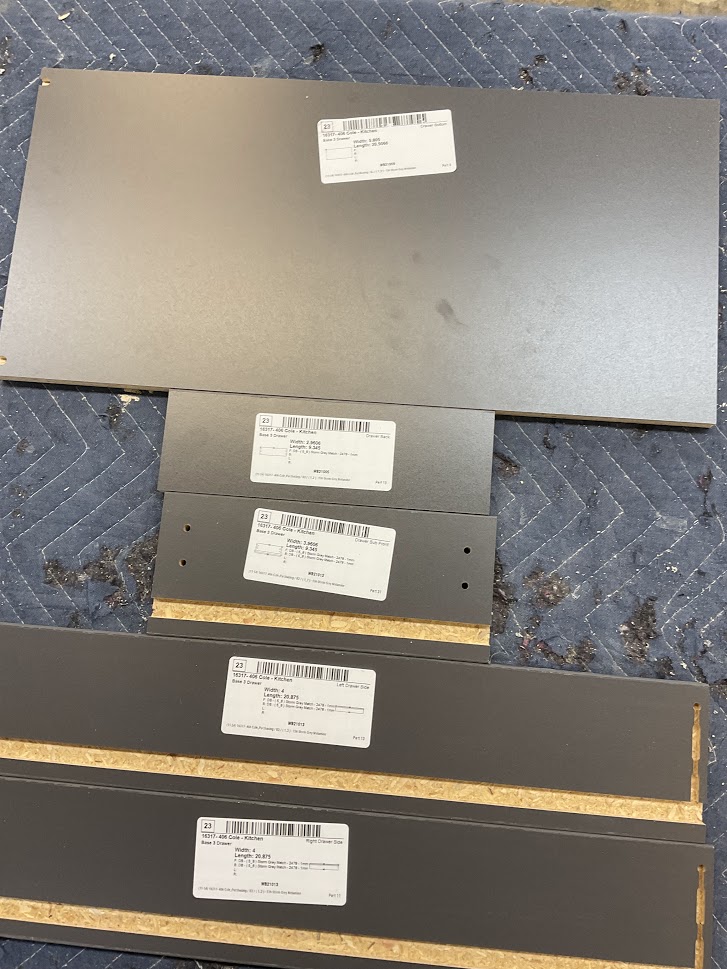
1. Gather all your parts by reading the labels Labels will be coordinated with a number in the top right corner with Left, Right, Front, Back, and Bottom |
 |
2. Inspect all your parts for imperfections before starting
If imperfections are found, show them to your supervisor and they will direct you to the proper method to fix it or instruct you to have the part recut
|
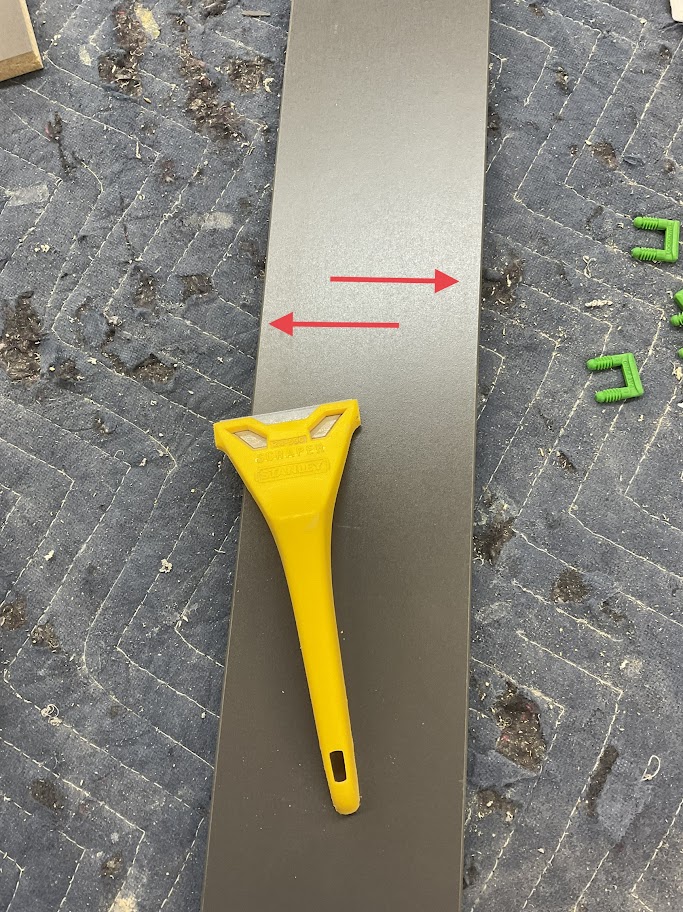
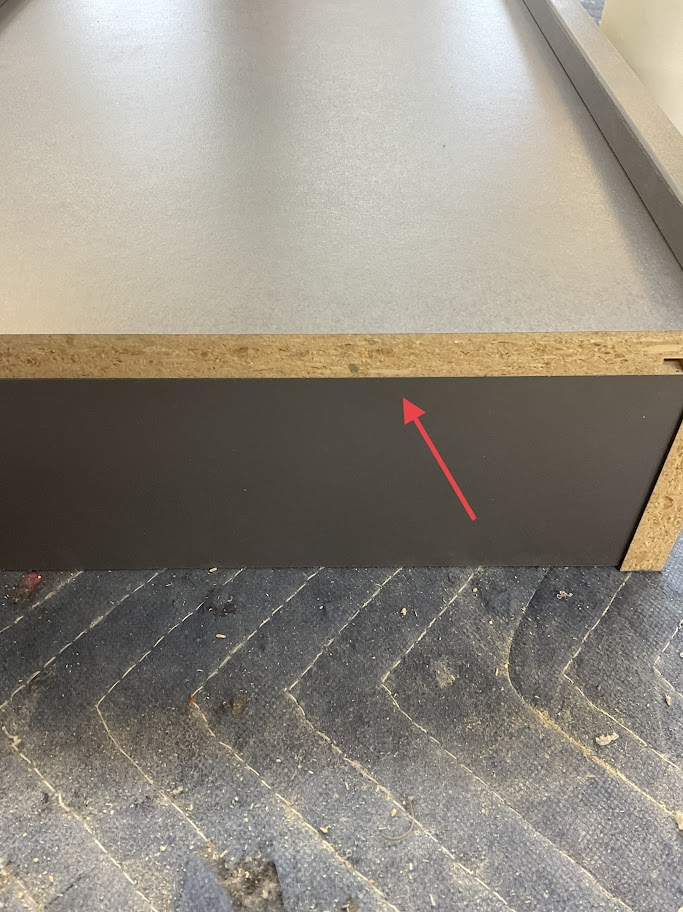
3. Using the proper tool, clean the edges of each part of any glue or hang over |
 |
|
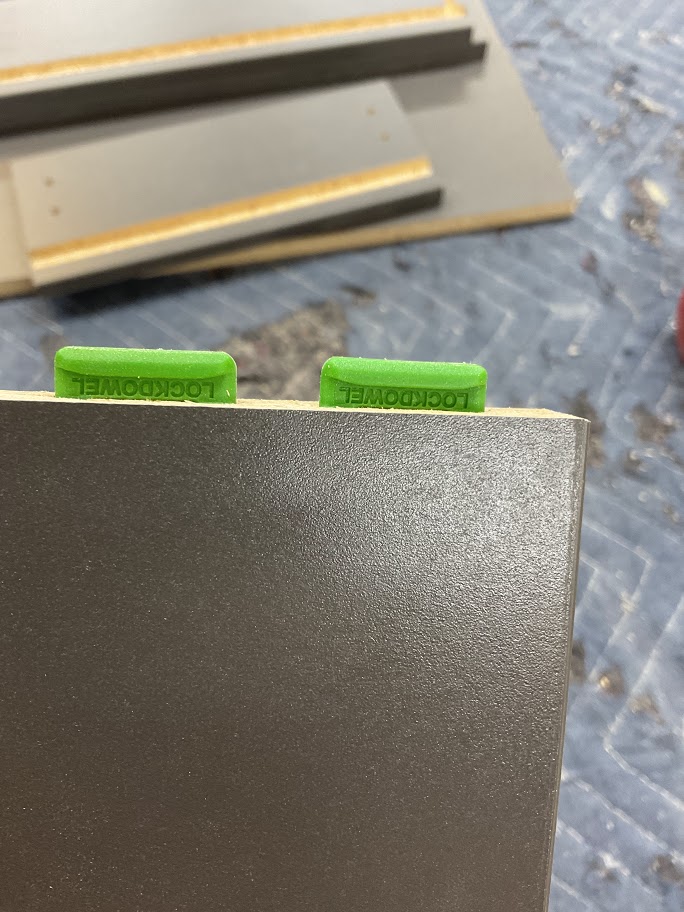
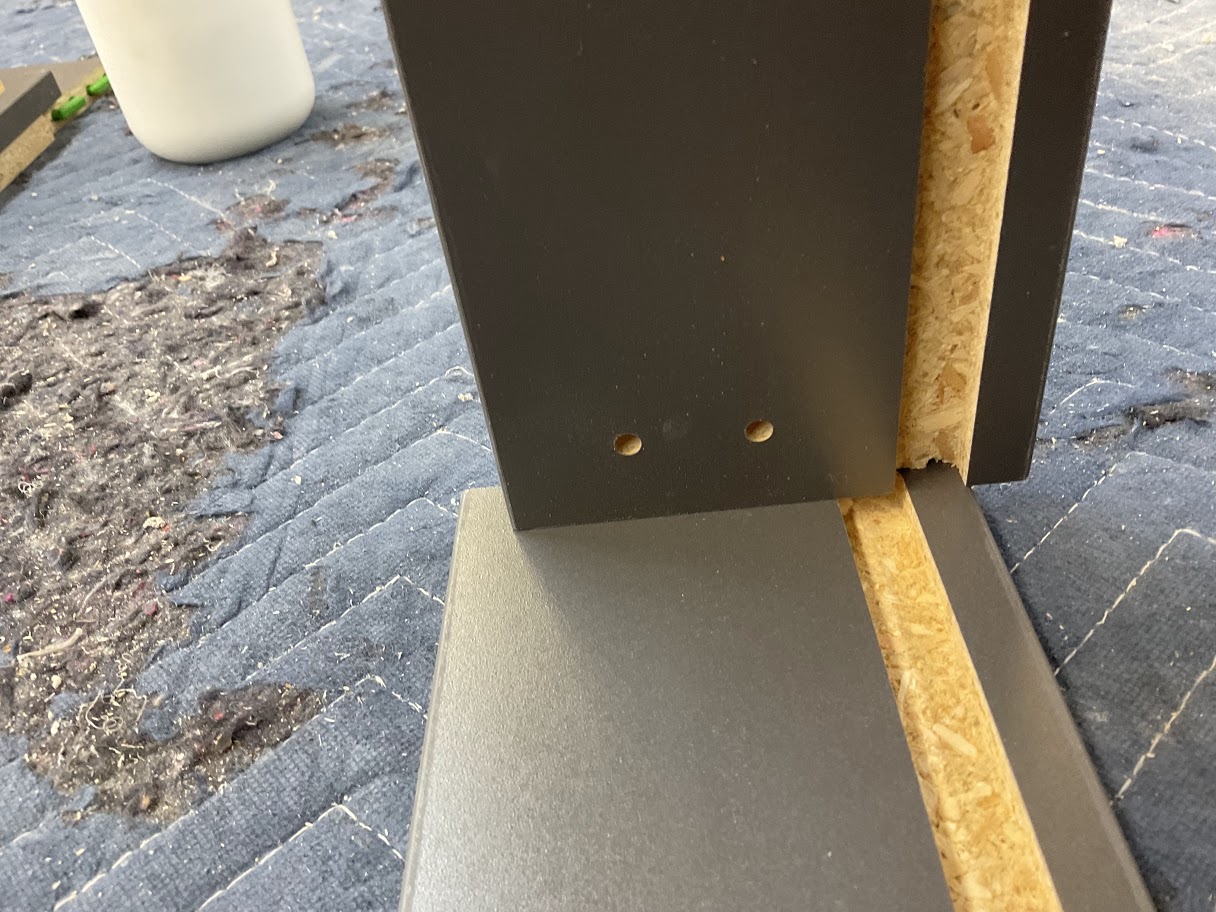
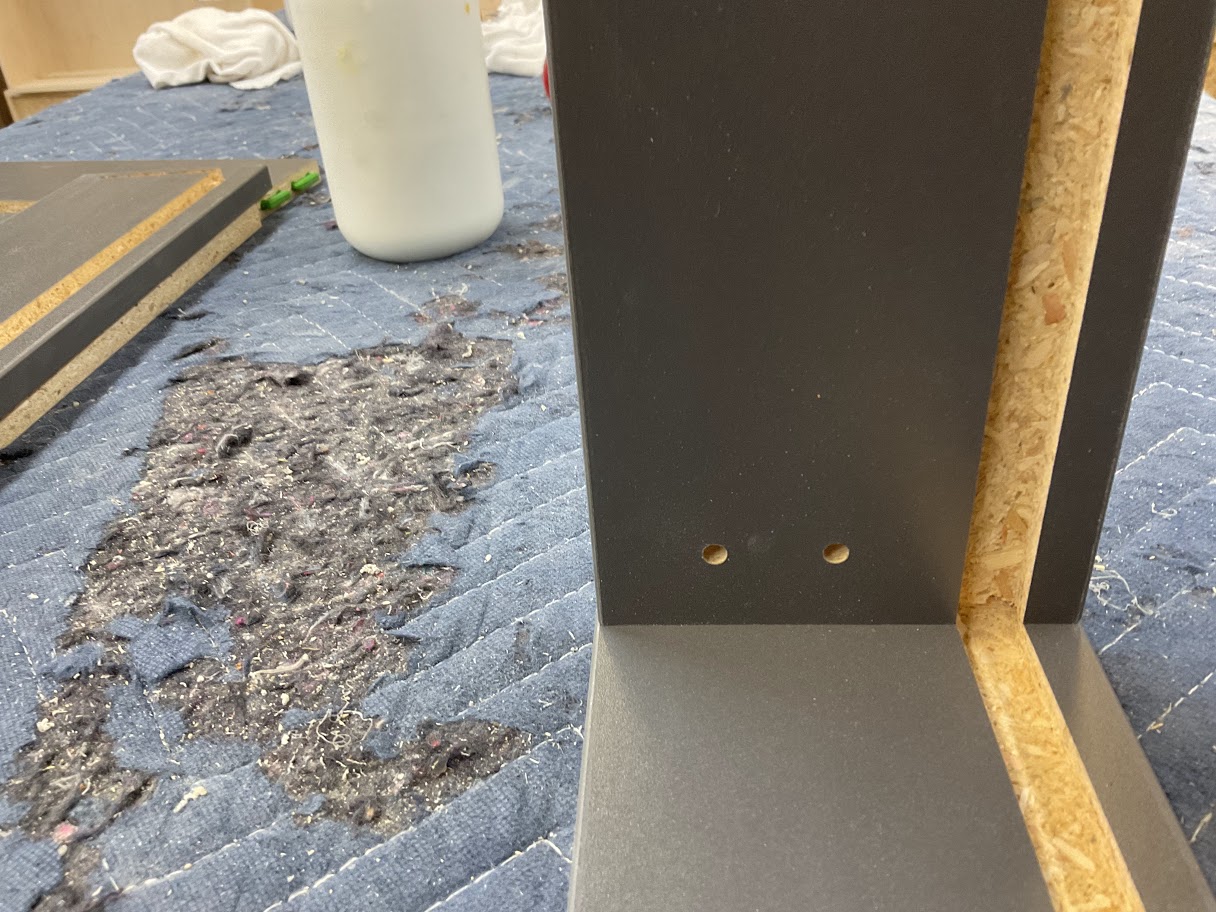
4. Place lock dowels in the designated per drilled holes |
 |
|
5. Using a soft mallet, lightly tap the lock dowel down till the bottom of the dowel is flush with part |
 |
|
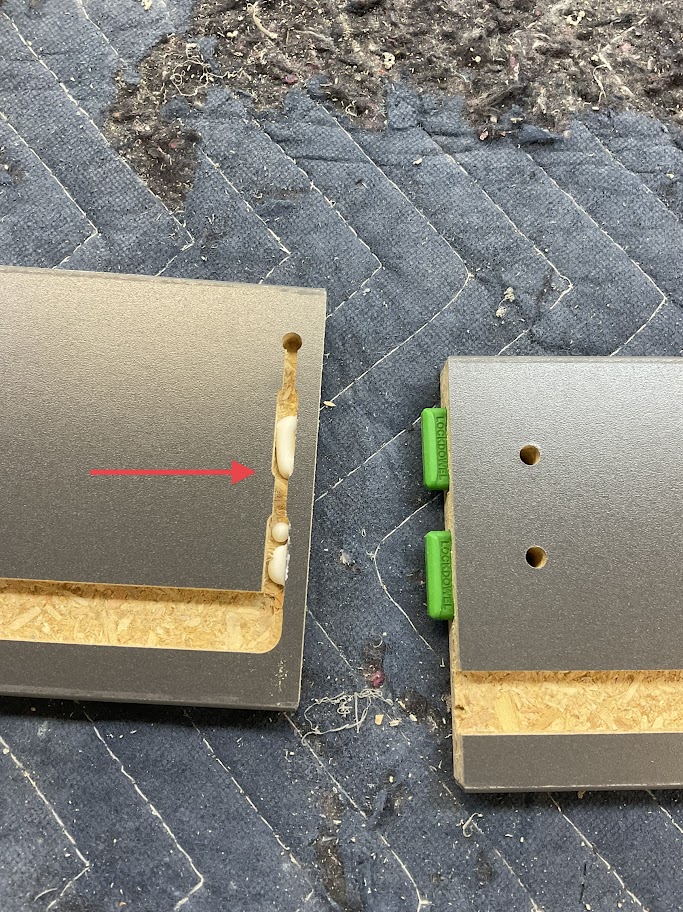
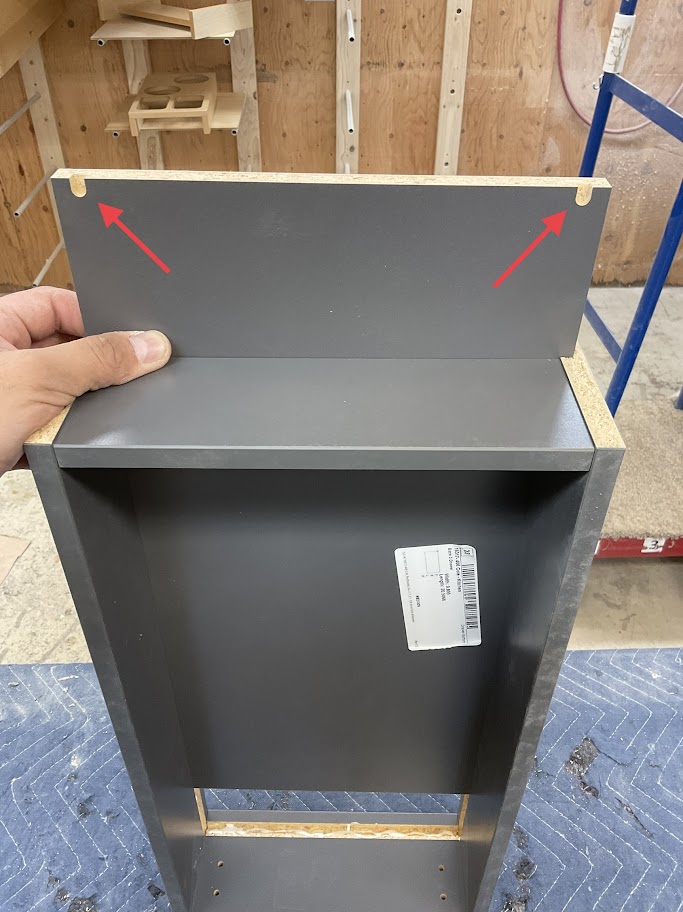
6. Place glue in the coordinating keyhole slots |
 |
|
7. Insert the Lock Dowell into the coordinating keyhole slot to create the locking mechanism |
 |
|
8. Push the part up to lock in place |
 |
|
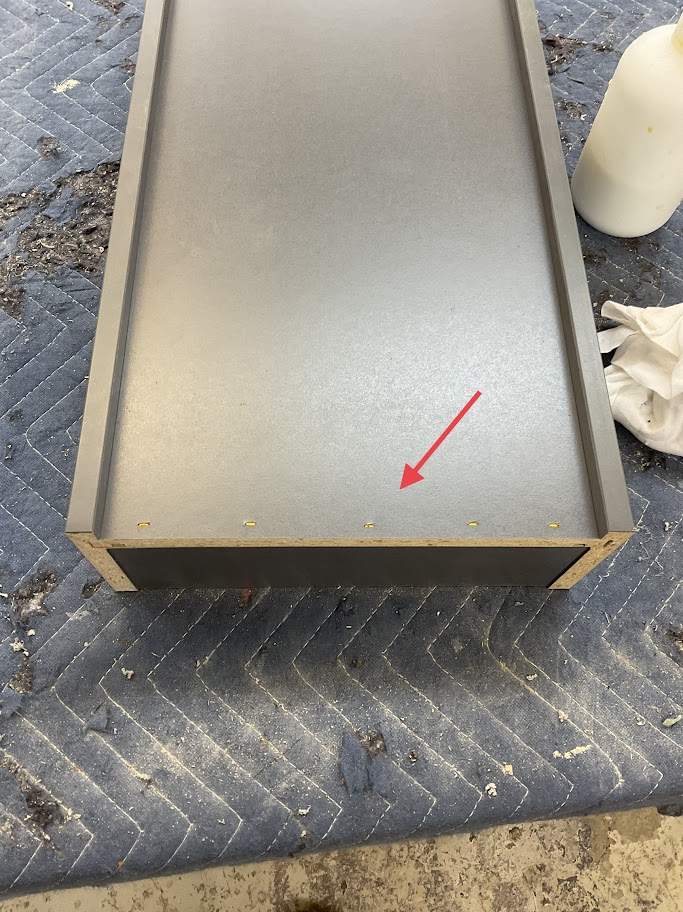
9. Place glue in the dado that the drawer box bottom will be placed |
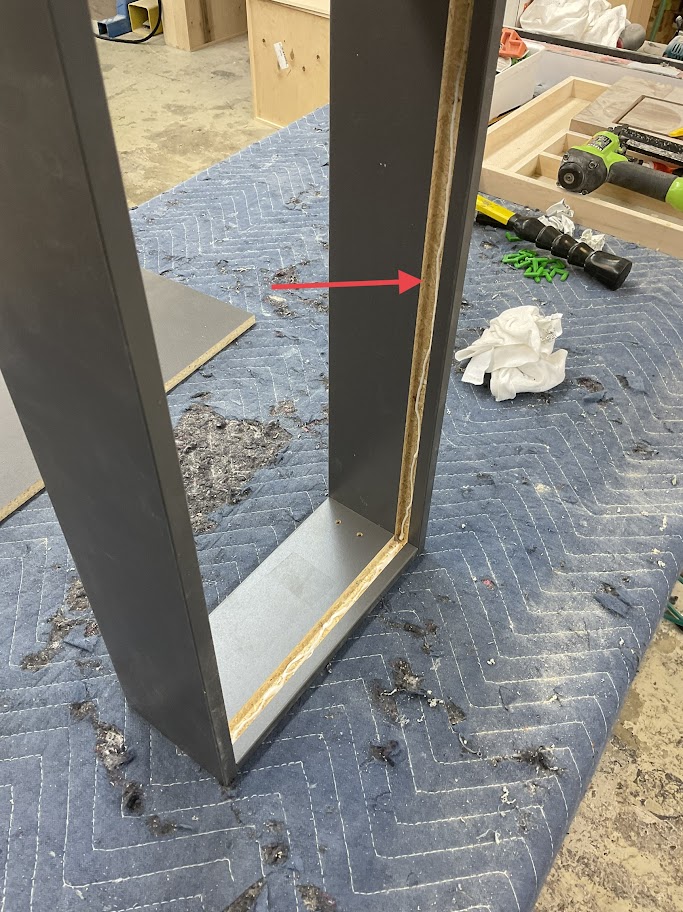 |
|
10. With the glide holes up and facing toward the inside of the box, slide the bottom into the bottoms' dado |
 |
|
11. Make sure the bottom is flush with the back |
 |
|
12. Using a staple gun and the 1 1/4" staples secure the bottom to the back panel |
 |
13. Put fastcaps over drawer front screw holes to prevent cracking
No comments to display
No comments to display