| **1. Gather all your parts by reading the labels**
***Labels will be coordinated with a number in the top right corner with Left, Right, Front, Back, and Bottom*** | **[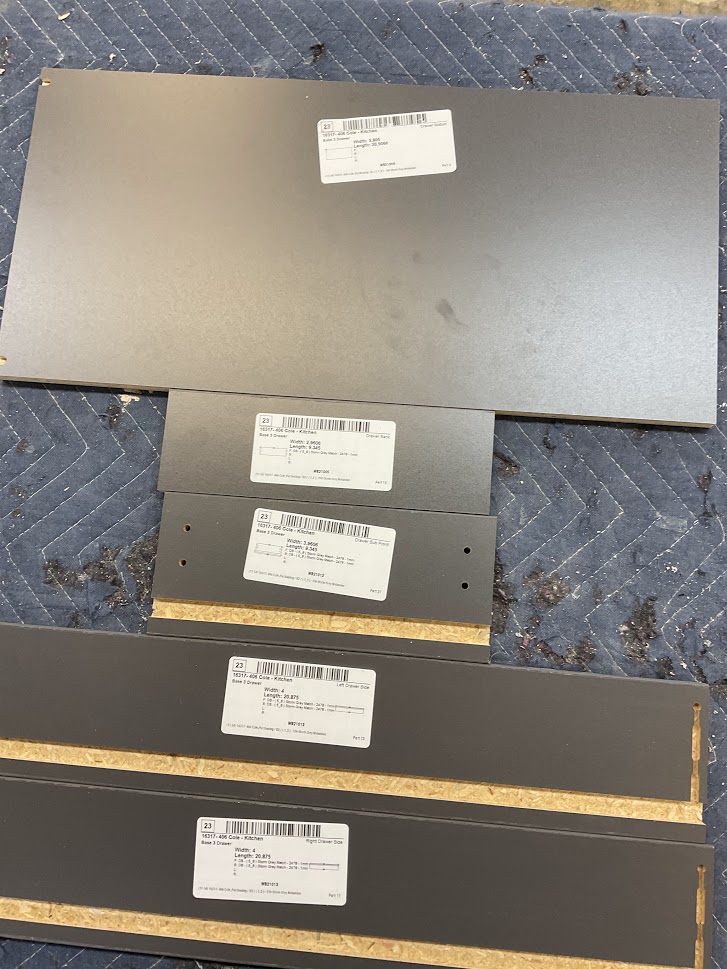](http://help.homesteadcabinet.net/uploads/images/gallery/2023-01/pLDimage-1.jpg)** |
***If imperfections are found, show them to your supervisor and they will direct you to the proper method to fix it or instruct you to have the part recut***
| **3. Using the proper tool, clean the edges of each part of any glue or hang over** | **[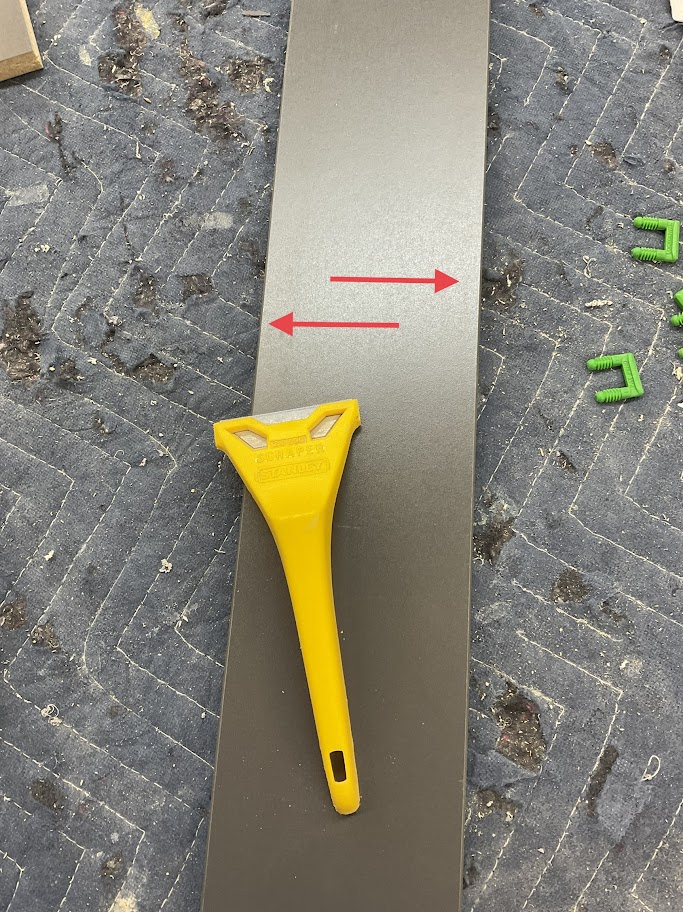](http://help.homesteadcabinet.net/uploads/images/gallery/2023-01/NWpimage-2.jpg)** |
| **4. Place lock dowels in the designated per drilled holes** | **[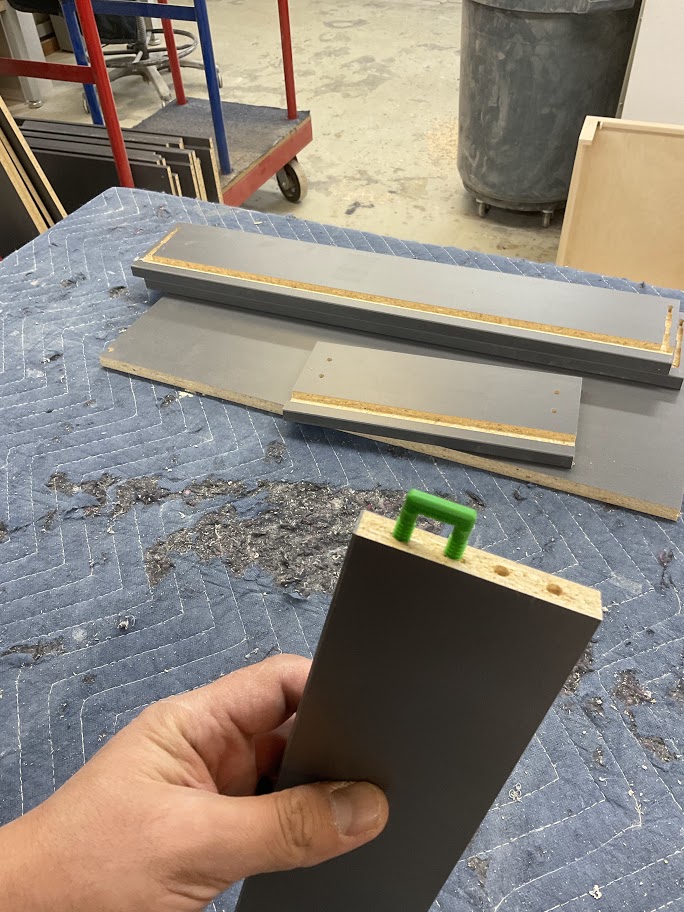](http://help.homesteadcabinet.net/uploads/images/gallery/2023-01/uQHimage-3.jpg)** |
| **5. Using a soft mallet, lightly tap the lock dowel down till the bottom of the dowel is flush with part** | **[](http://help.homesteadcabinet.net/uploads/images/gallery/2023-01/iuOimage-4.jpg)** |
| **6. Place glue in the coordinating keyhole slots** | **[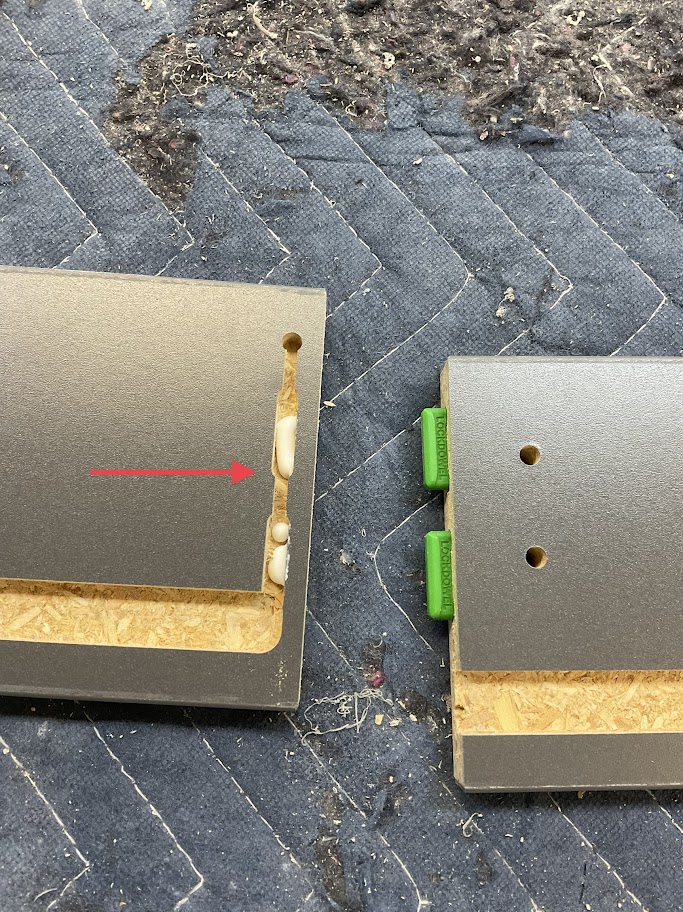](http://help.homesteadcabinet.net/uploads/images/gallery/2023-01/4ATimage-5.jpg)** |
| **7. Insert the Lock Dowell into the coordinating keyhole slot to create the locking mechanism** | **[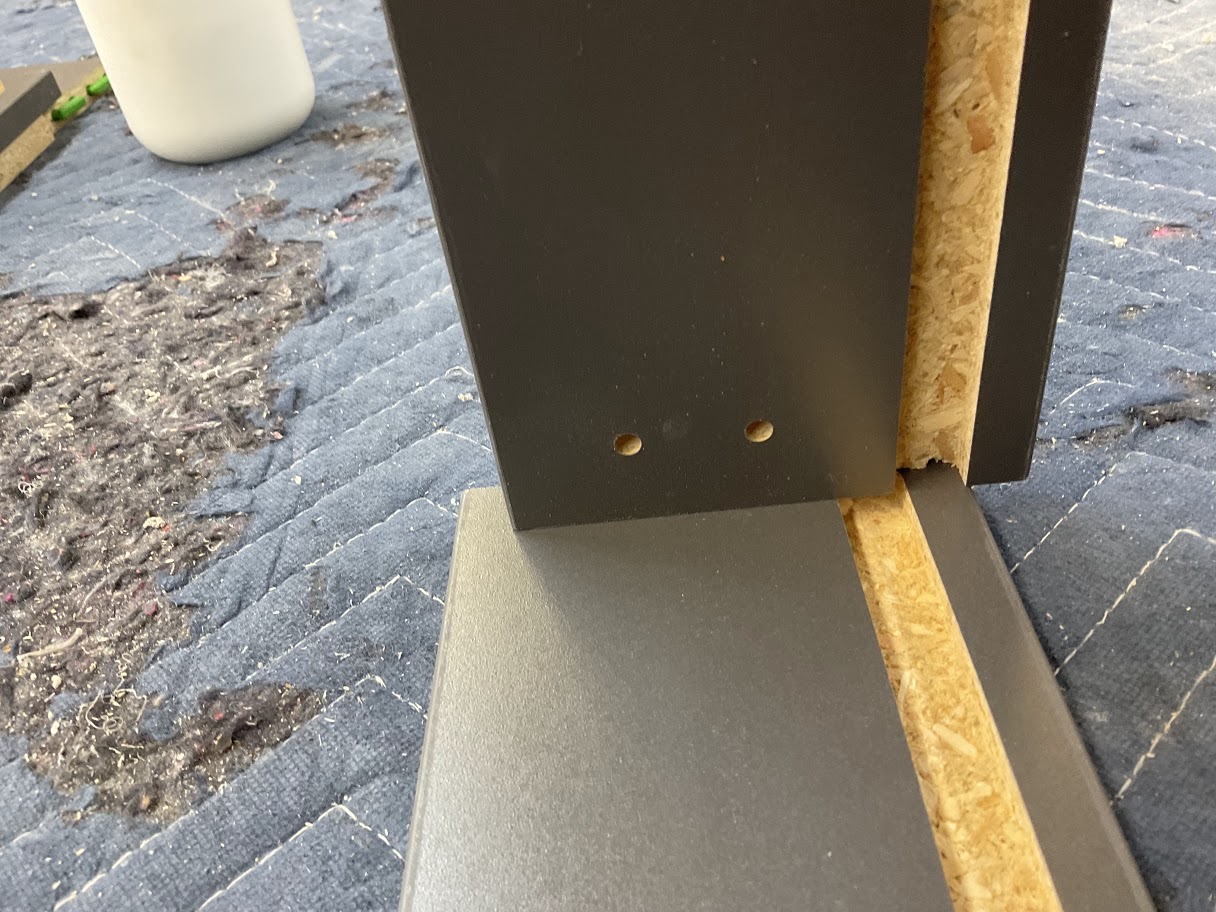](http://help.homesteadcabinet.net/uploads/images/gallery/2023-01/ammimage-6.jpg)** |
| **8. Push the part up to lock in place** | **[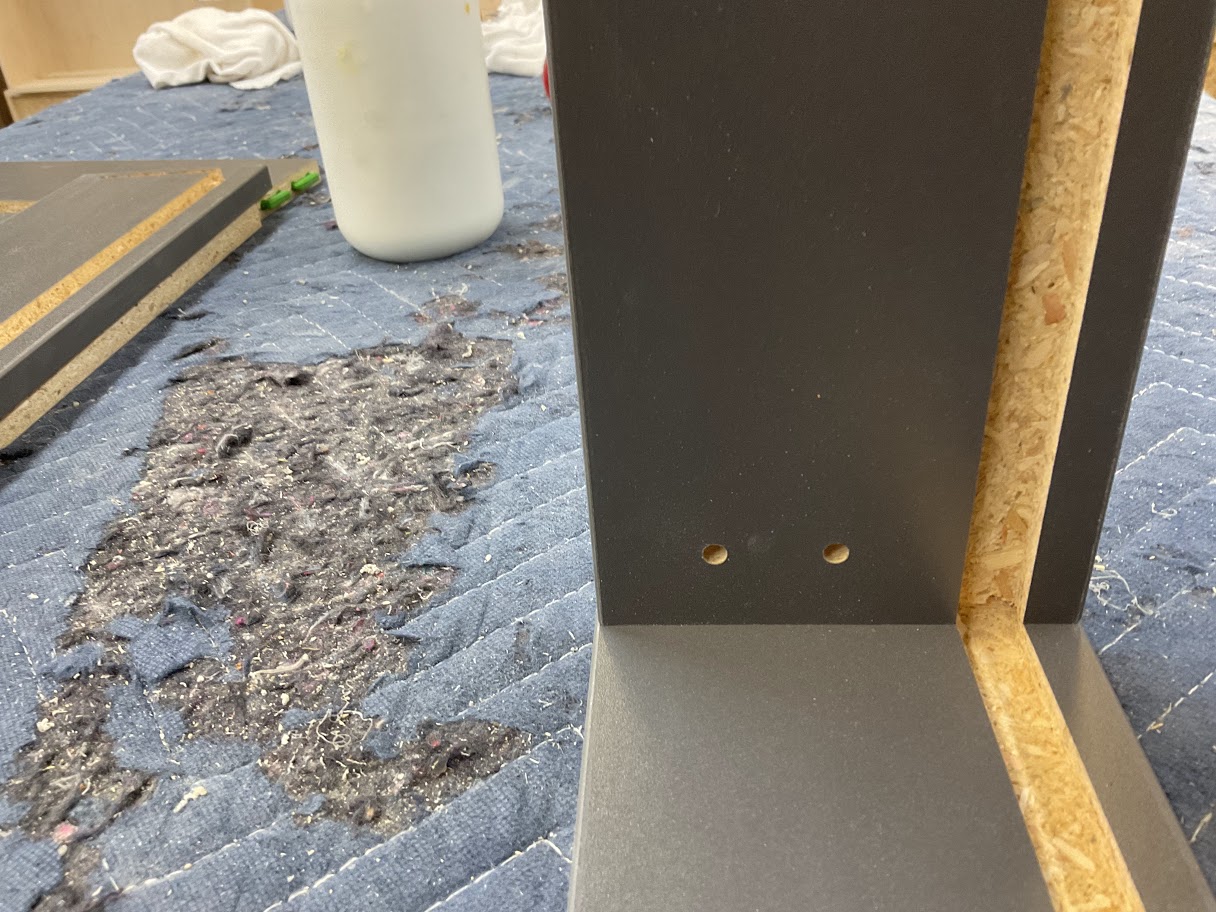](http://help.homesteadcabinet.net/uploads/images/gallery/2023-01/oUXimage-7.jpg)** |
| **9. Place glue in the dado that the drawer box bottom will be placed** | **[](http://help.homesteadcabinet.net/uploads/images/gallery/2023-01/kUHimage-8.jpg)** |
| **10. With the glide holes up and facing toward the inside of the box, slide the bottom into the bottoms' dado** | **[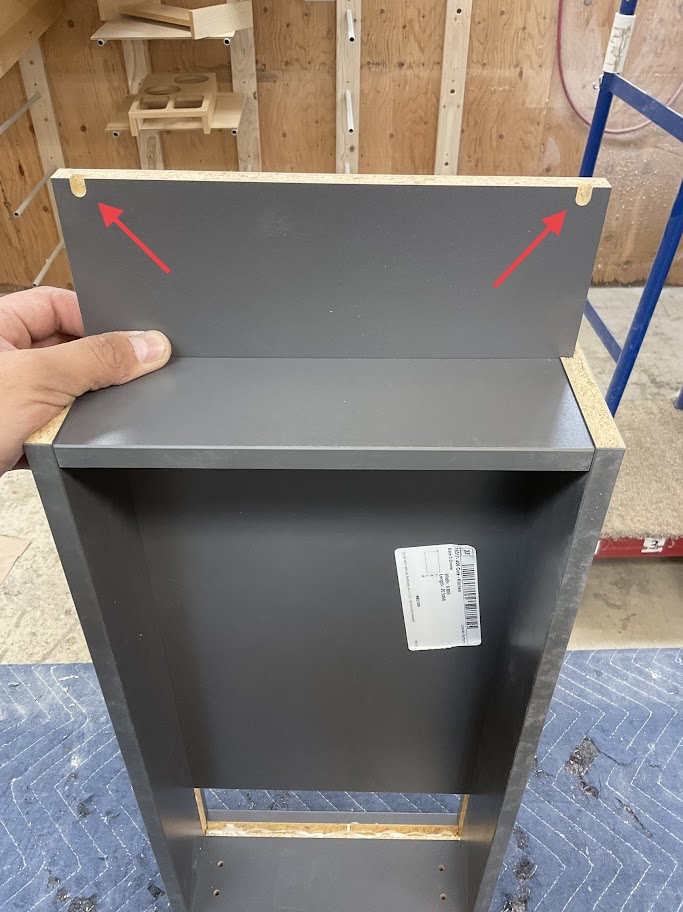](http://help.homesteadcabinet.net/uploads/images/gallery/2023-01/fMSimage-9.jpg)** |
| **11. Make sure the bottom is flush with the back** | **[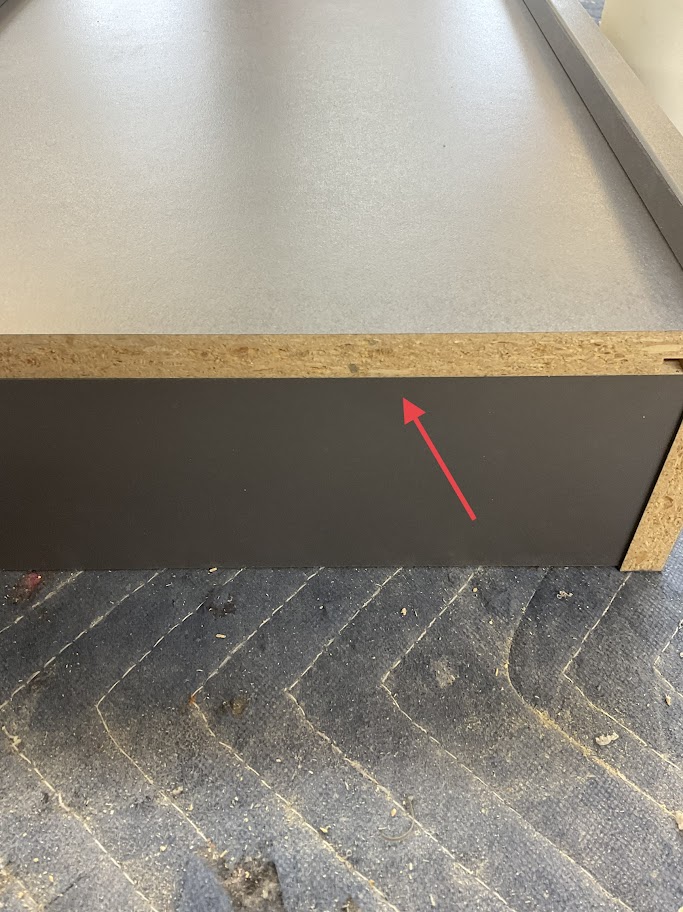](http://help.homesteadcabinet.net/uploads/images/gallery/2023-01/HZQimage-10.jpg)** |
| **12. Using a staple gun and the 1 1/4" staples secure the bottom to the back panel** | **[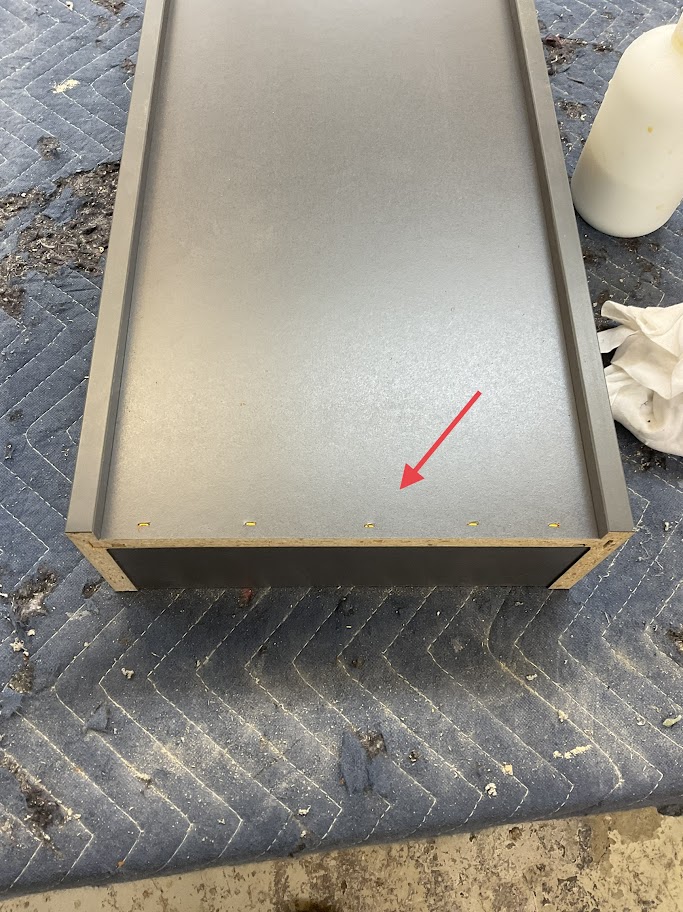](http://help.homesteadcabinet.net/uploads/images/gallery/2023-01/bX0image-11.jpg)** |