Cabinet Inspection
Purpose
To make sure all imperfection are caught and the cabinet, including any additional parts are properly wrapped and labeled for safe shipping
Part Identification
|
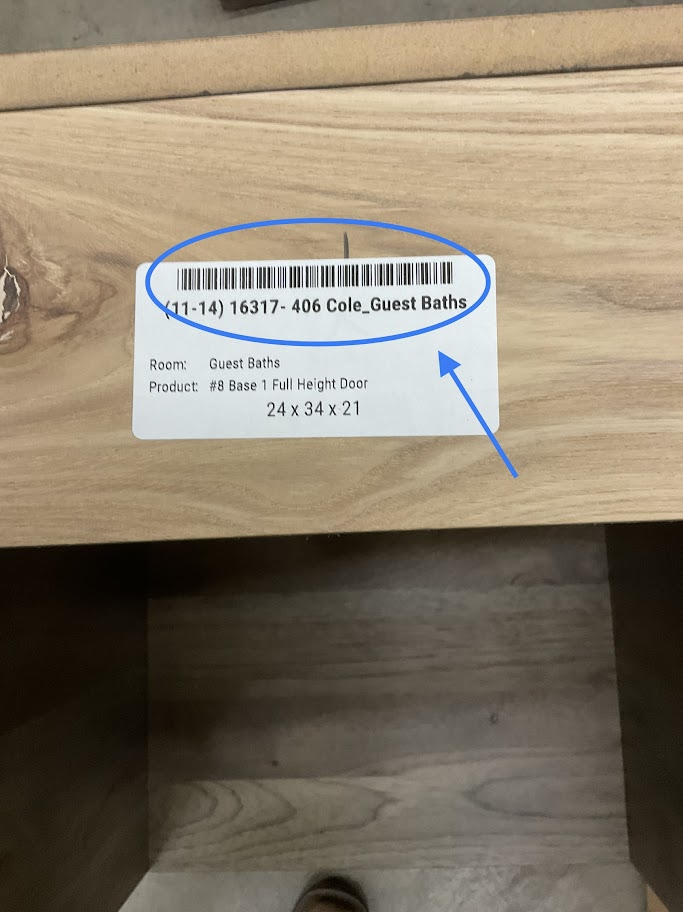
1. Scan product identification label Do not scan any labels unless you're going to finish the inspection |
 |
| 2. Using the part number on the label to verify the right part was scanned | 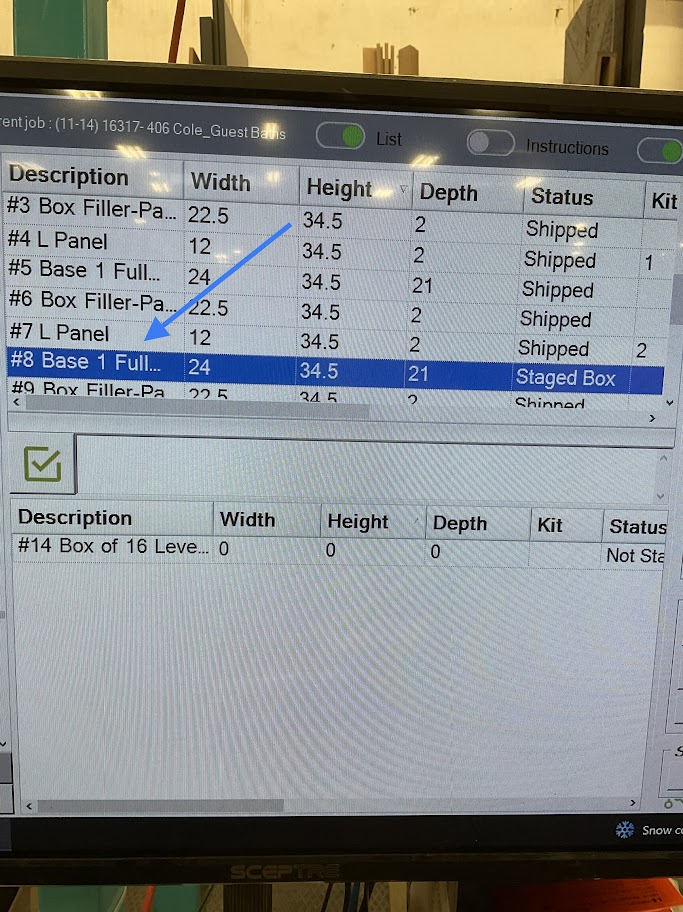 |
|
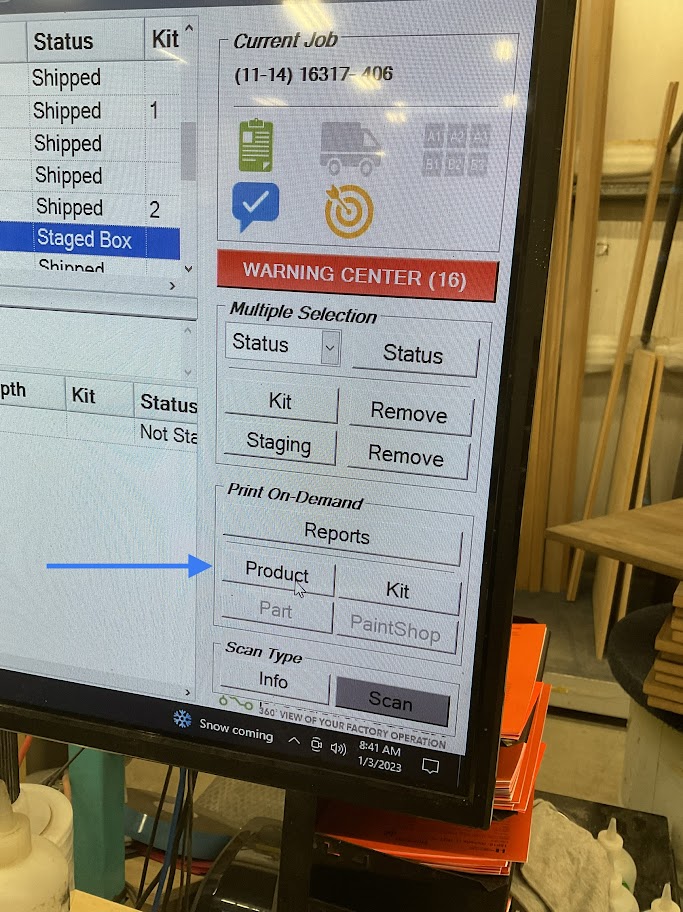
3. Click the "Product" icon located on the lower right side of the screen This step will print a finished product label to be applied to the part when inspection is completed |
 |
Part Verification
|
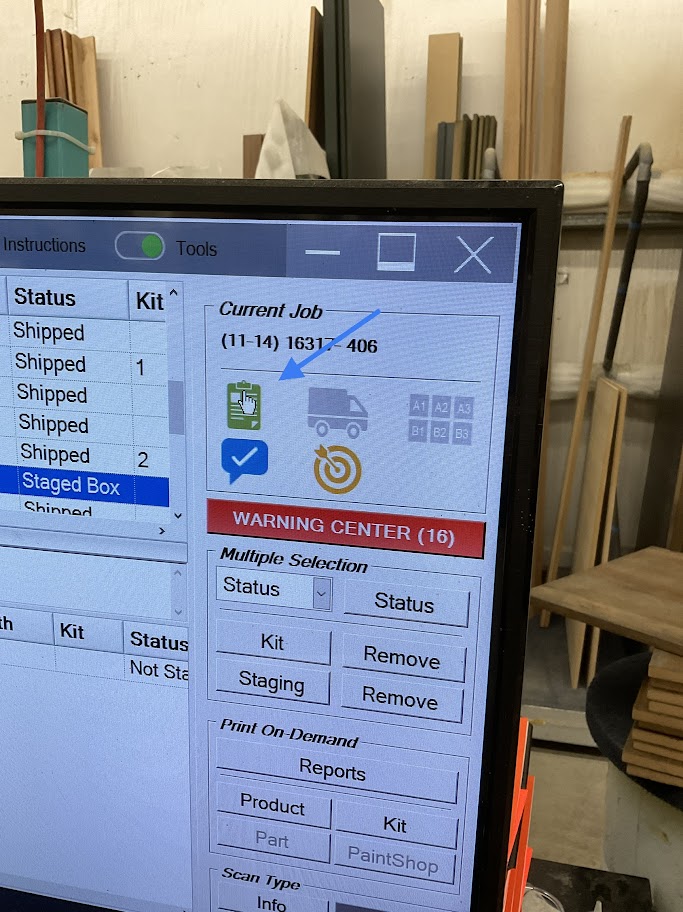
1. Click the "Green Clipboard" icon This will bring up a list of all the parts for the room on the left side of the screen |
 |
|
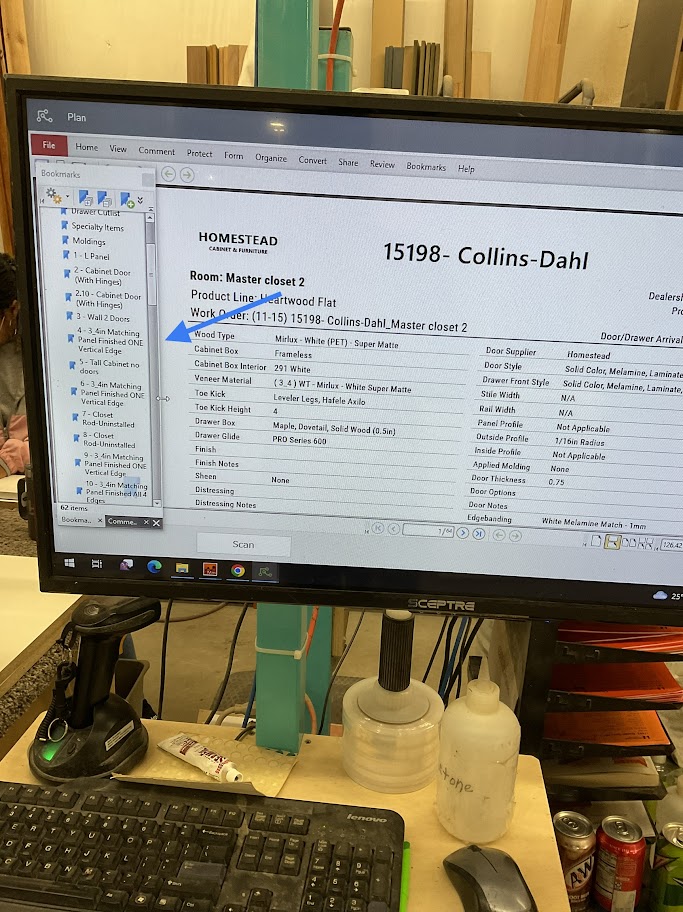
2. On the left side of the screen select the part your inspecting This will bring up the parts spec sheet |
 |
|
3. Use the spec sheet to verify measurements and any special instructions for the part. If there are any addons or shelves, make sure they are all accounted for If your not sure if all addons are accounted for, stop your process and ask your supervisor |
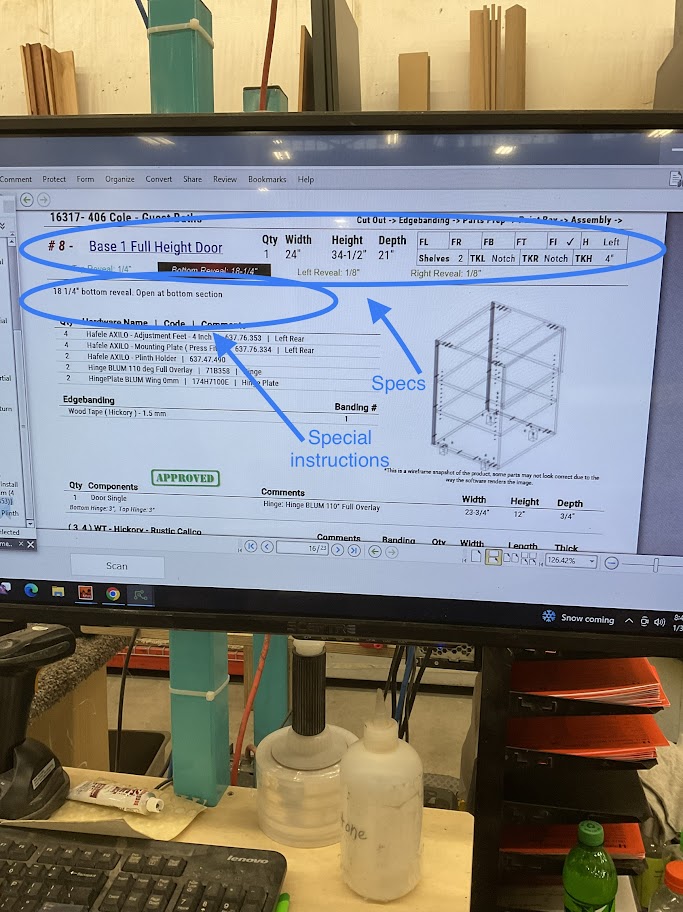 |
4. Measure the width, height, and depth of the part being inspected
5. Verify all special instructions are complete and correct.
Part Inspection
1. Inspect all finished surfaces for any imperfections
If imperfections are found inform your supervisor before continuing
2. Inspect all drawers, drawer banks, and drawer fronts for imperfections
If imperfections are found inform your supervisor before continuing
3. Inspect edge band for imperfections and remove any remaining glue left by the edge bander.
4. If the special instructions call out for fixed shelves, adjustable shelves, and/or addons make sure they are inspected for any imperfections as well.
If imperfections are found inform your supervisor before continuing
5. If tall adjustable shelves are needed for the cabinet, make sure they are wrapped separately according to the proper color and labeled correctly
Part Shipping Prep
|
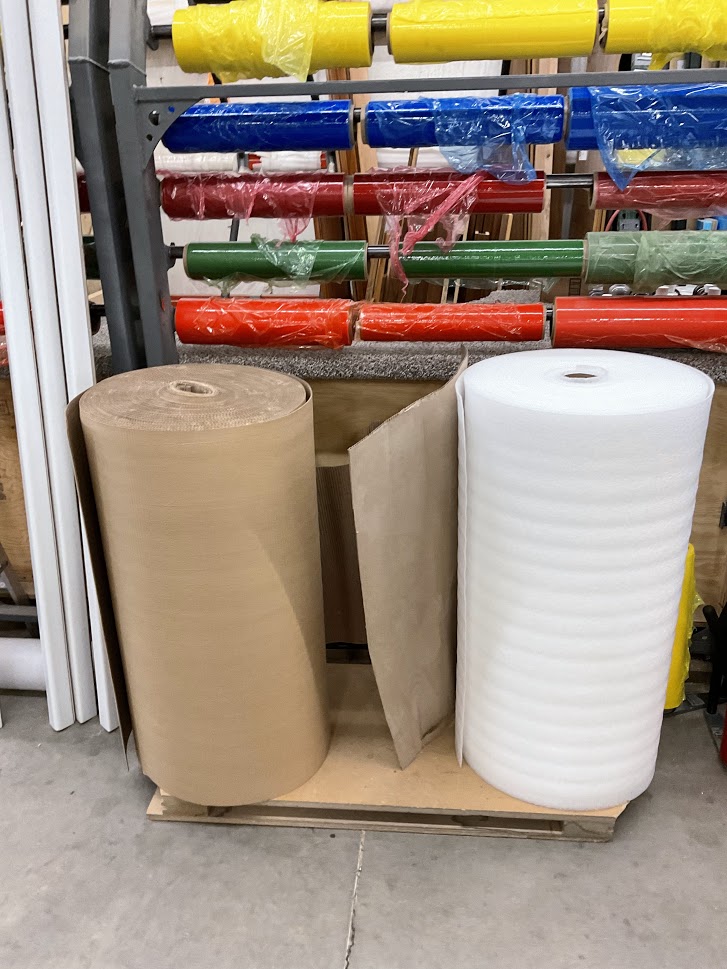
1. Use both cardboard and foam |
 |
|
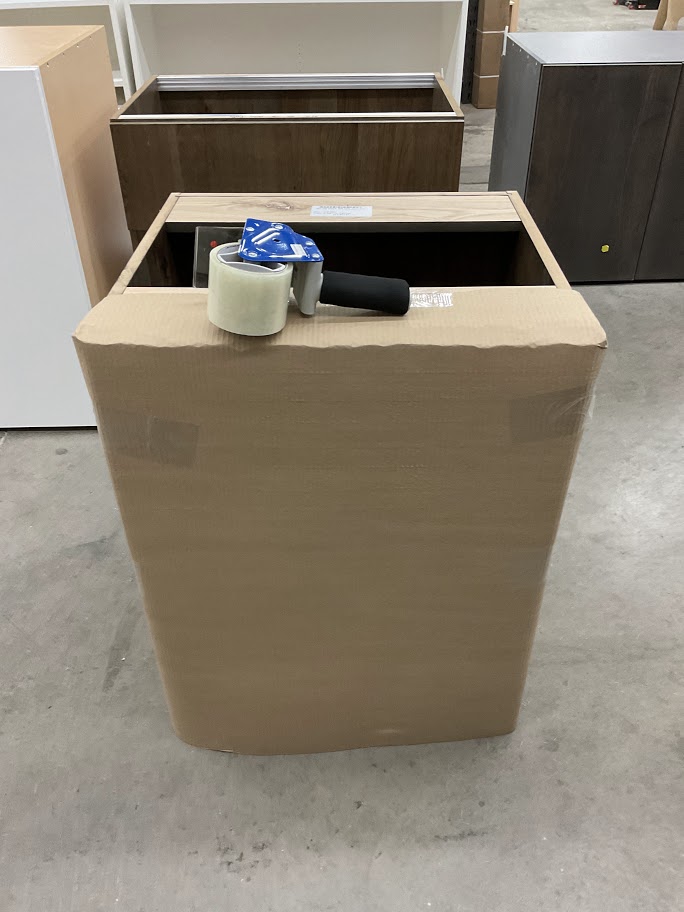
2. Cover all finished services that will be seen after installation |
|
|
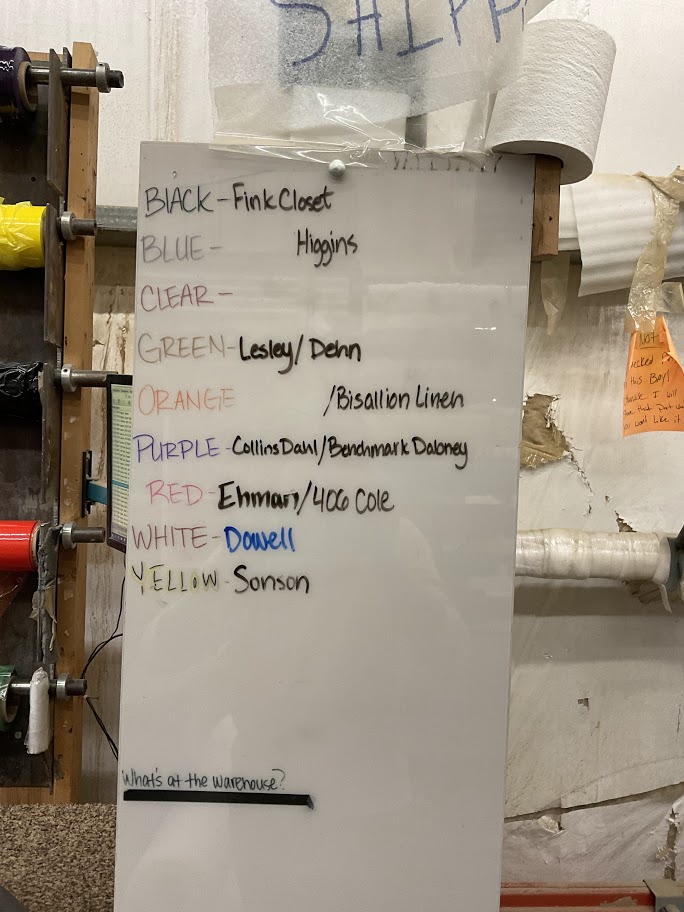
3. Refer to the white board to verify color the part will be wrapped in |
 |
|
4. Wrap part in coordinated color |
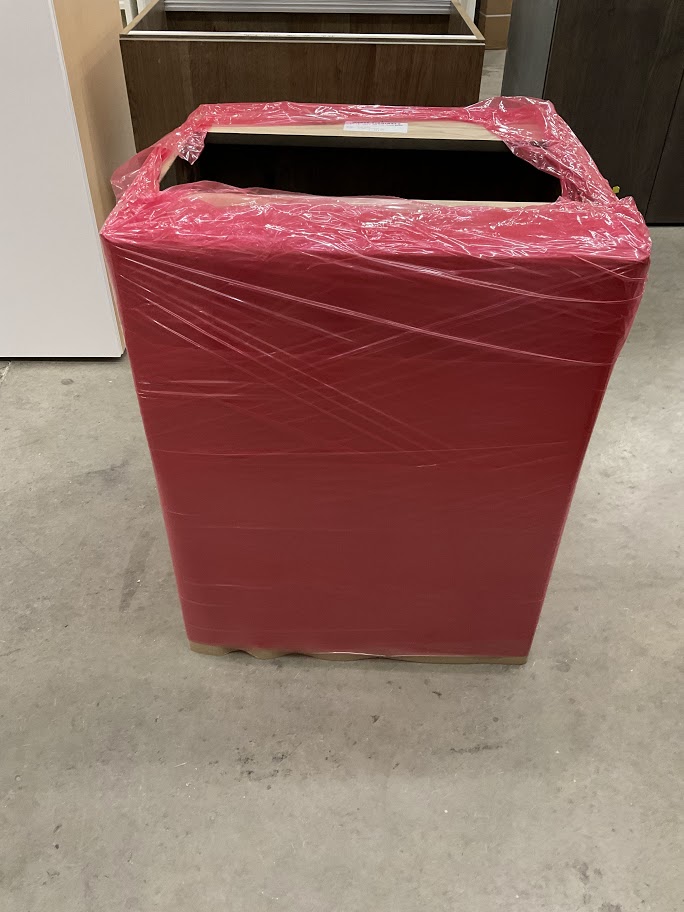 |
|
5. Scan finished label This will change the status of the part to wrapped |
 |
No comments to display
No comments to display