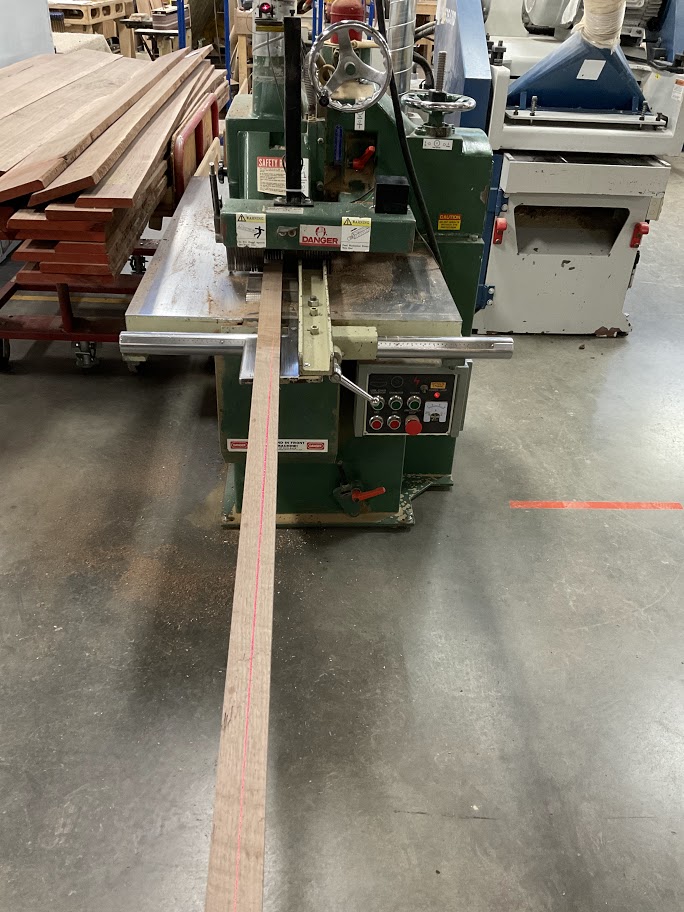
Rip Saw Instruction Procedure
Purpose
To make a straight edge on an unfinished board for a more consistent cut.
Power on Machine
|
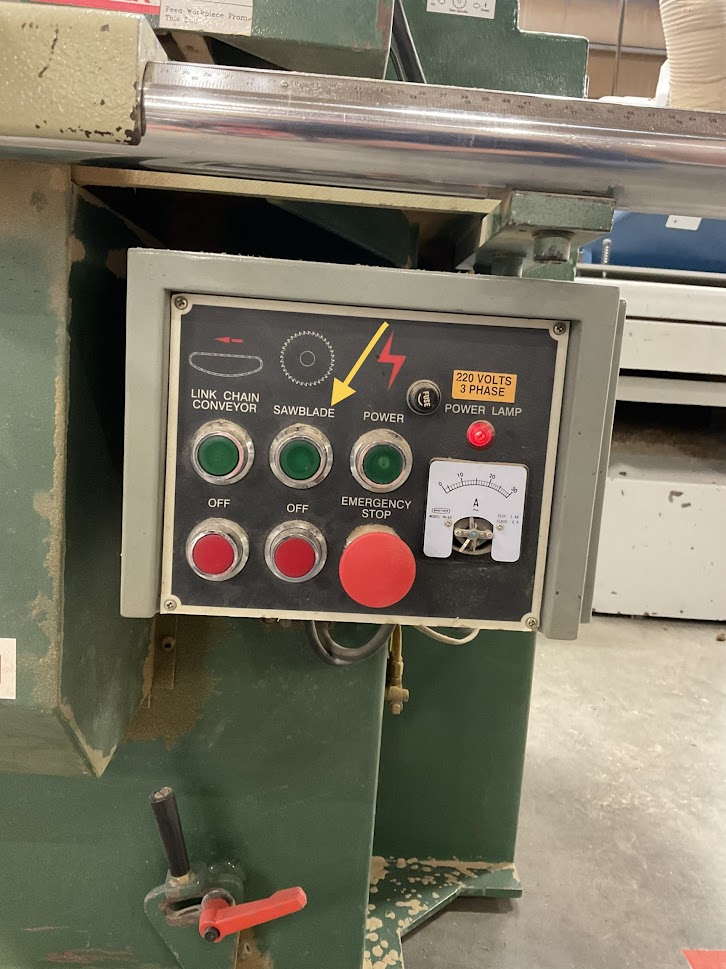
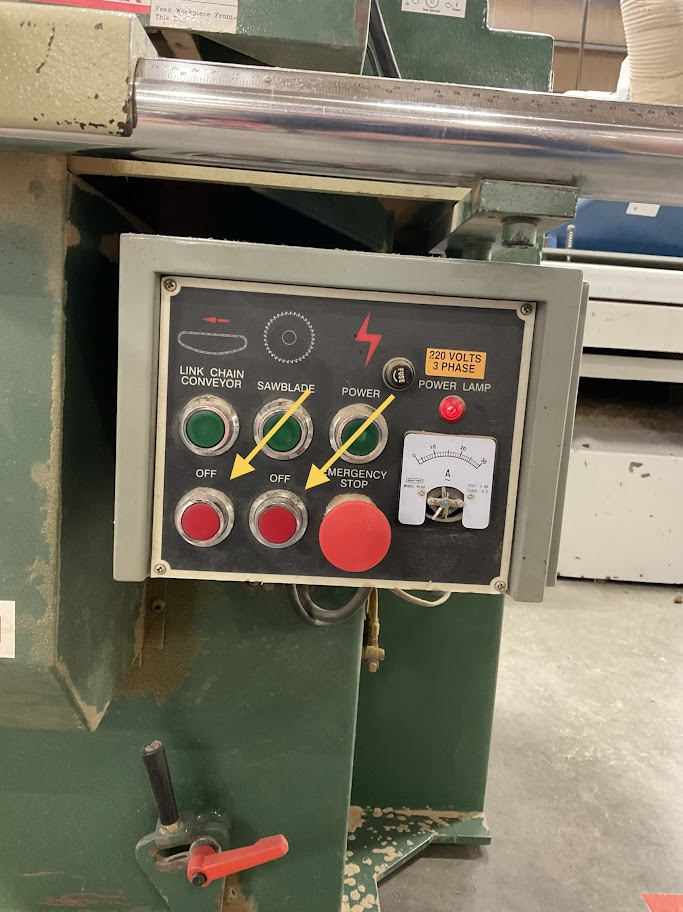
1. Press the green button to start the saw blade |
 |
|
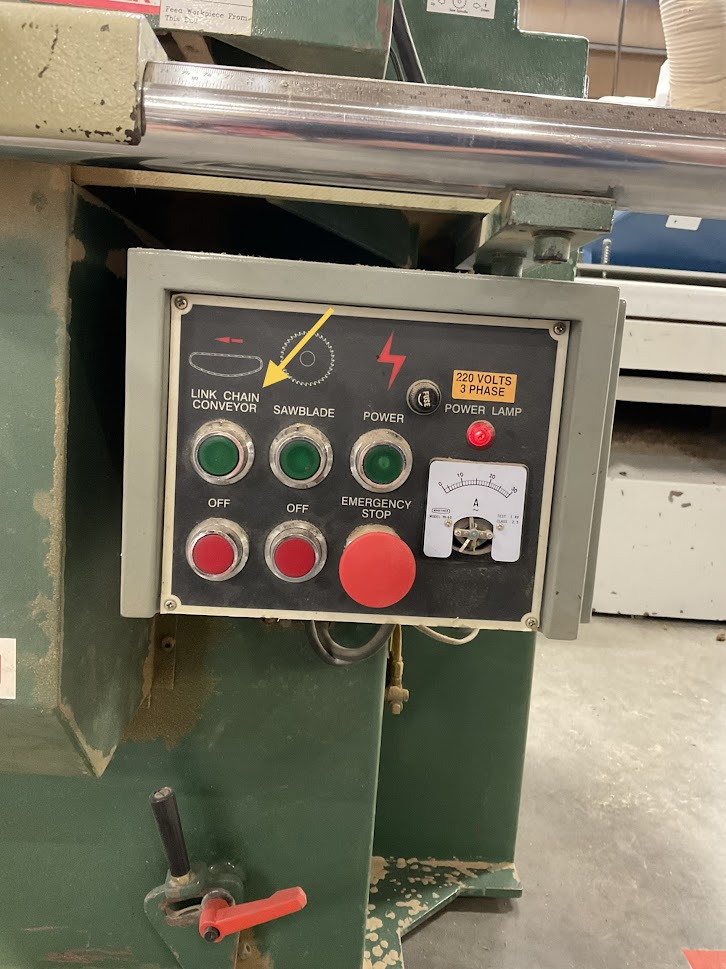
2. Press the green button to start link chain conveyor Chain conveyor will not start if the saw blade is not running |
 |
|
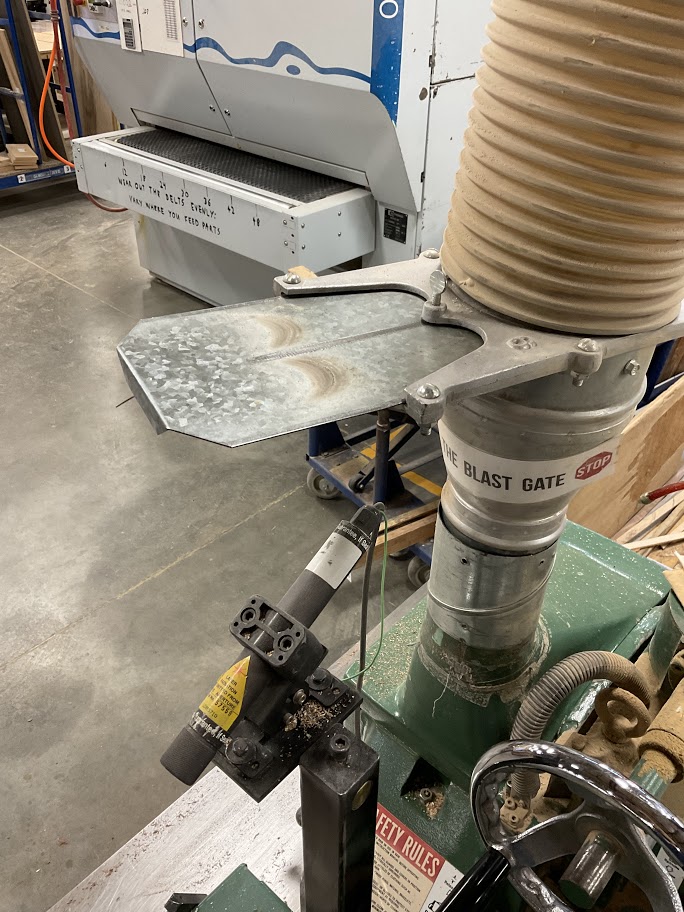
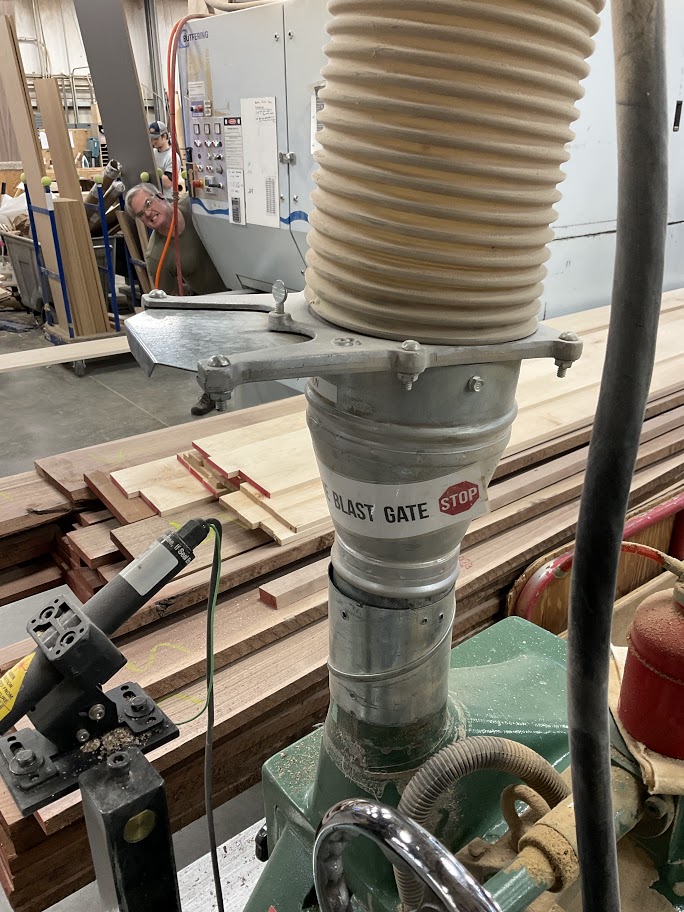
3. Open gate to the dust collector |
 |
Machine Set Up
|
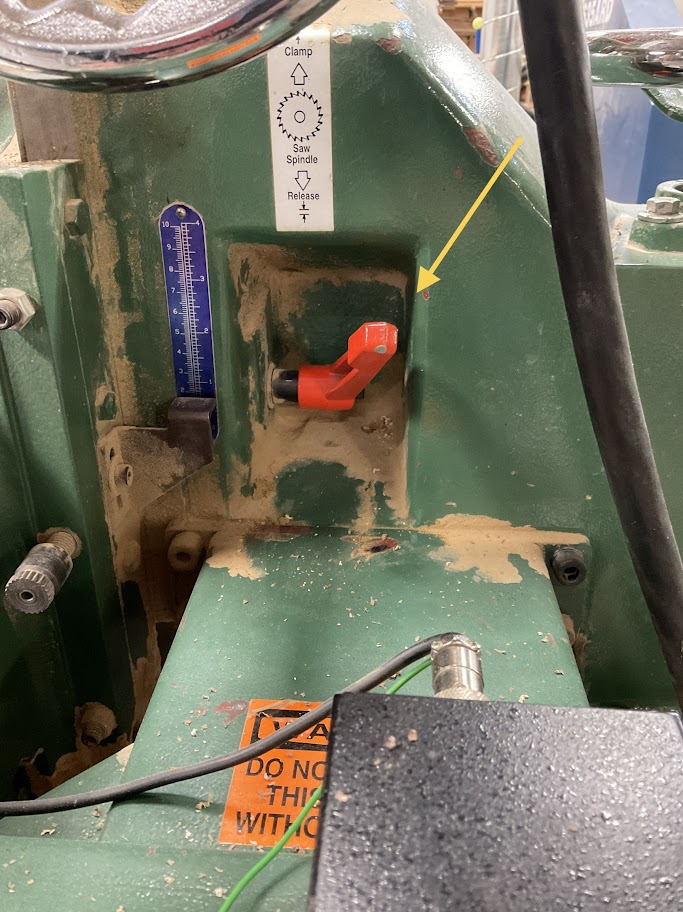
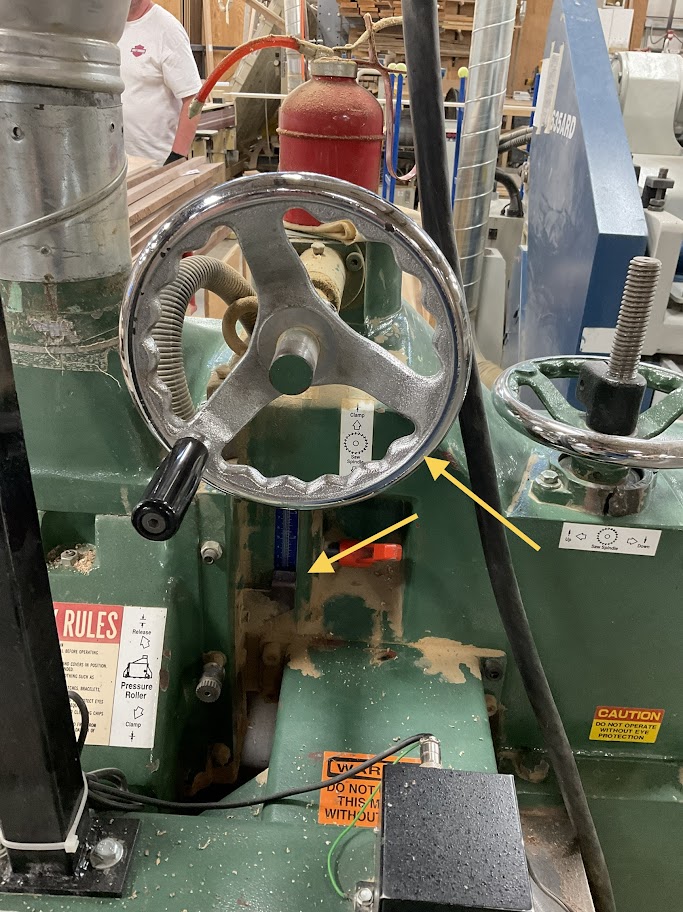
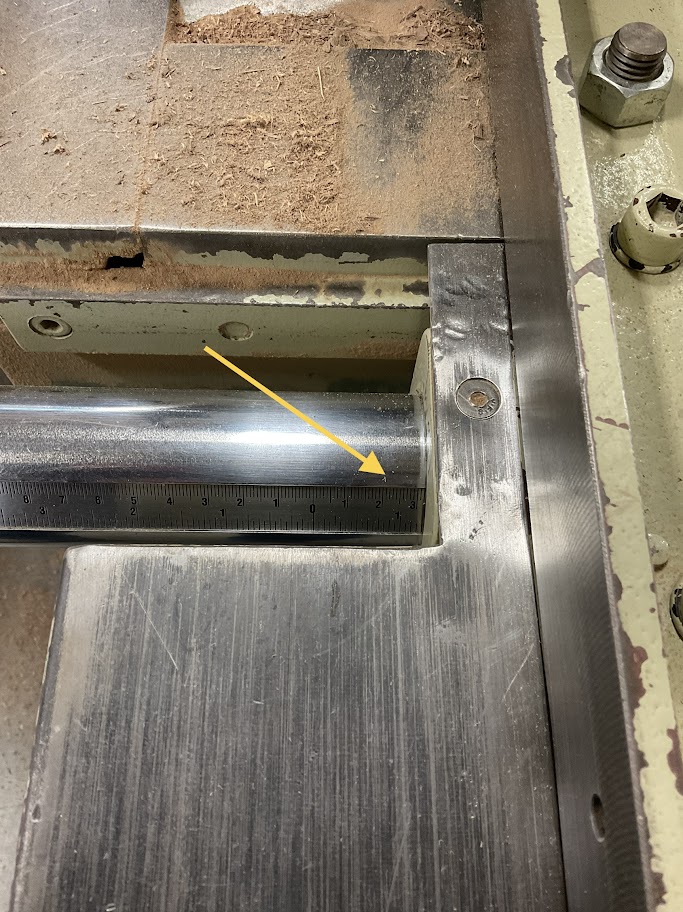
1. Start by loosening the clamp to set conveyor height |
 |
|
2. Turn the wheel to adjust the conveyor height then set the clamp back into the locked position Height should be set to 1/8 less than the thickness of the board to be cut |
 |
|
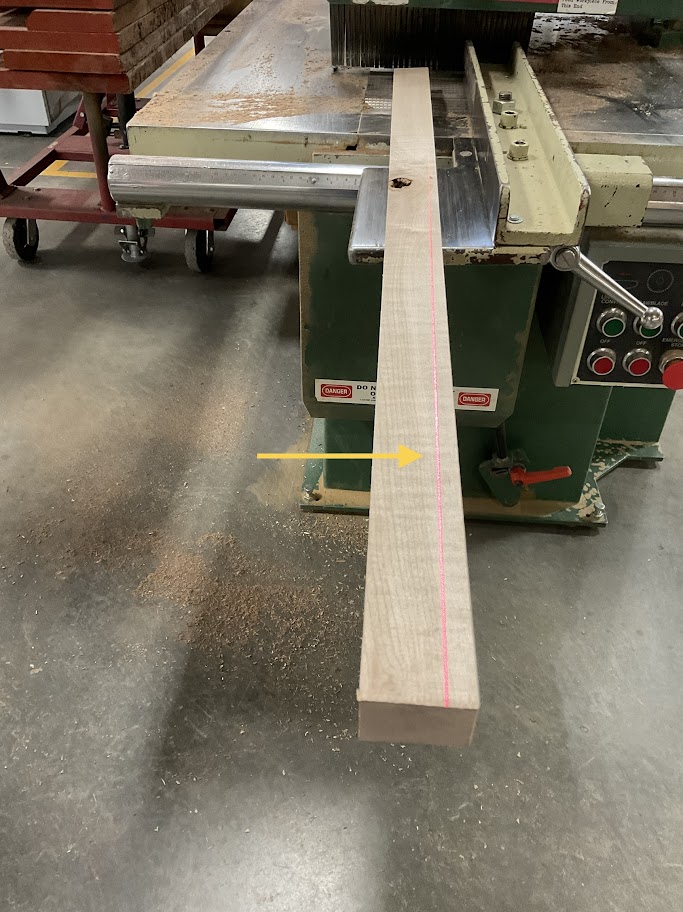
3. Turn on laser guide |
 |
Explain to the employee why the conveyor height needs to be set 1/8 of and inch less than the boards thickness
Ripping Part
|
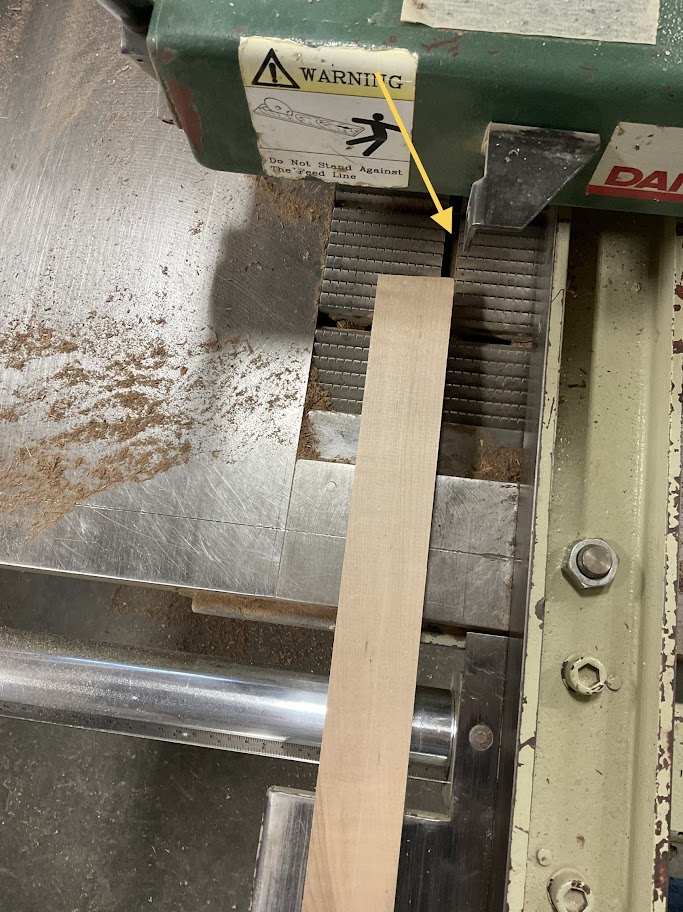
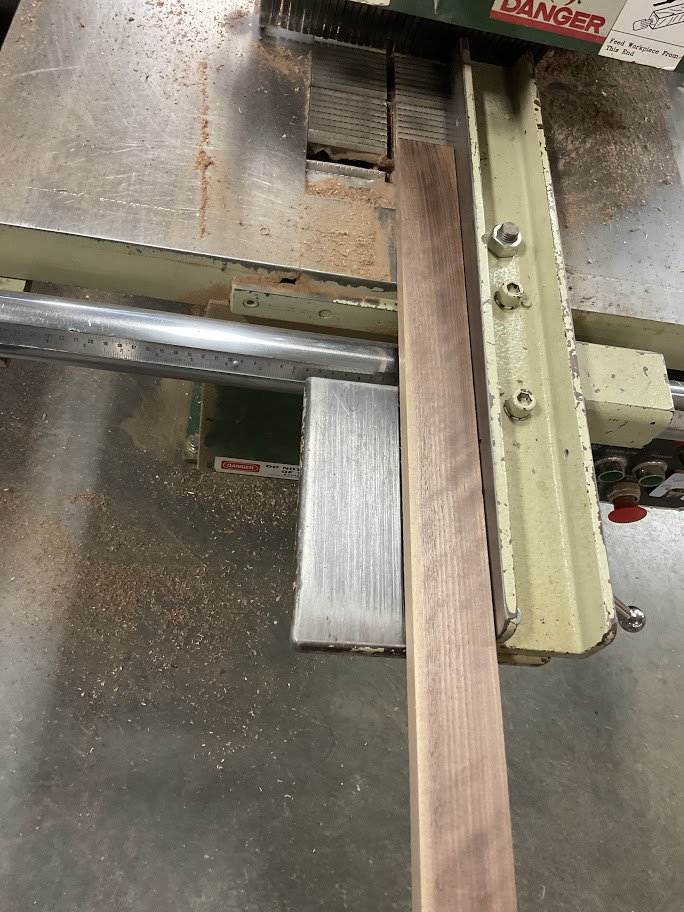
1. Set the front right side of the board in the center groove of the conveyor |
 |
|
2. Line up the back of the board with the laser guide |
 |
|
3. Push the board forward till the conveyor catches it If the conveyor doesn't grip the board, stop the machine and double check your conveyor height |
 |
4. After the board passes through the rip saw, verify that you have a smooth straight side.
|
5. Loosen the fence clamp |
 |
|
6. Set fence to measurement the board needs to be and set the clamp back into the locked position |
 |
|
7. Set the smooth side of the board flat against the fence and push the board back through the conveyor |
 |
Power of Machine
|
1. Press both red buttons for the saw blade and the link chain conveyor |
 |
|
2. Make sure to close the gate to the dust collector |
 |