L-Panel Instruction Procedure
Purpose
The purpose of an L-Panel is to fill the void between the wall and the cabinet. This will allow for a smoother and much cleaner look.
Material Prep
| 1. Review paperwork for any special instructions that might be needed | 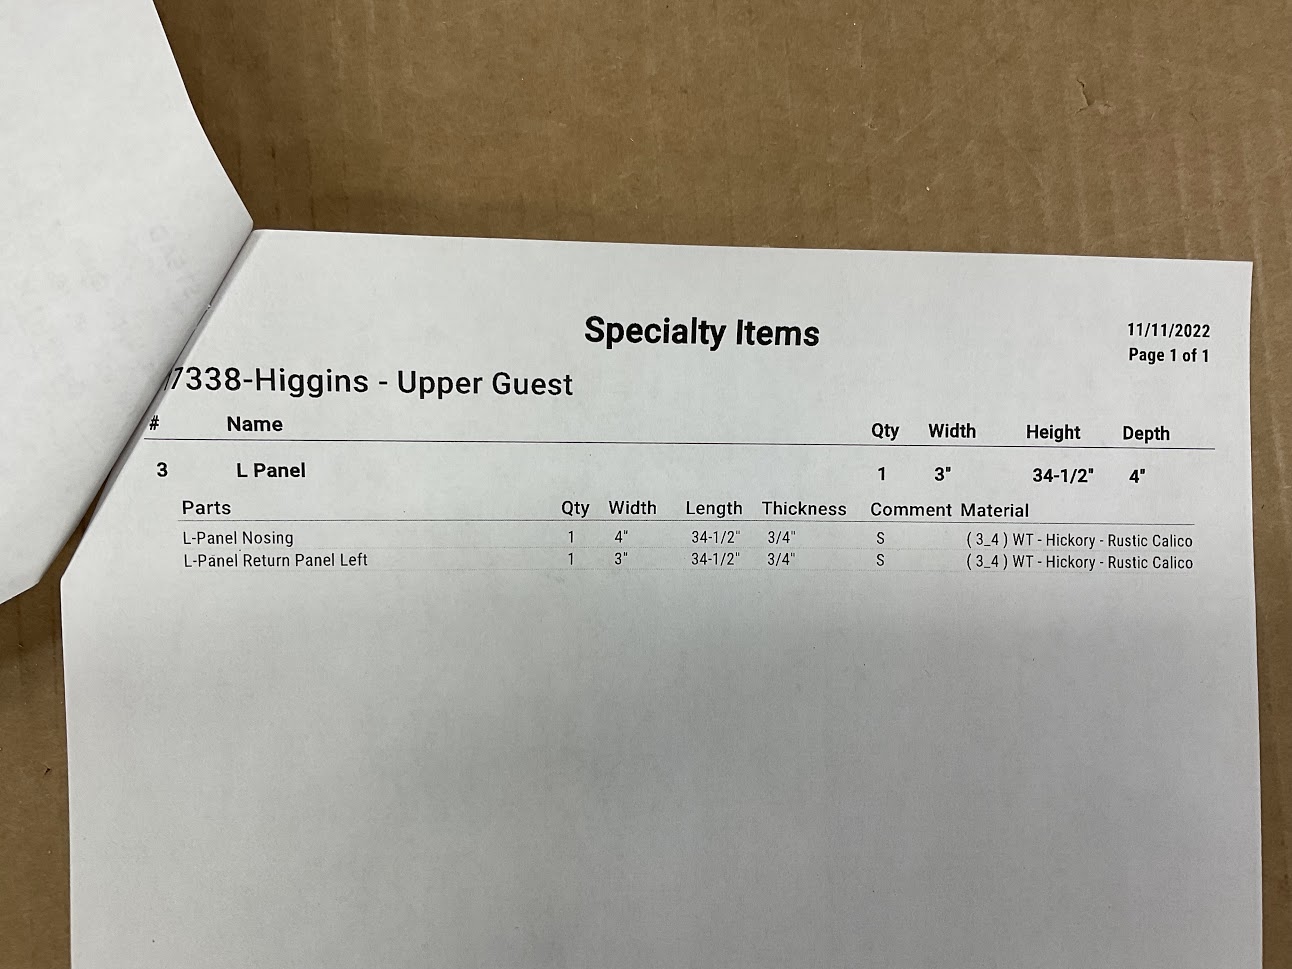 |
| 2. Gather materials and verify parts are correct with your paperwork. | 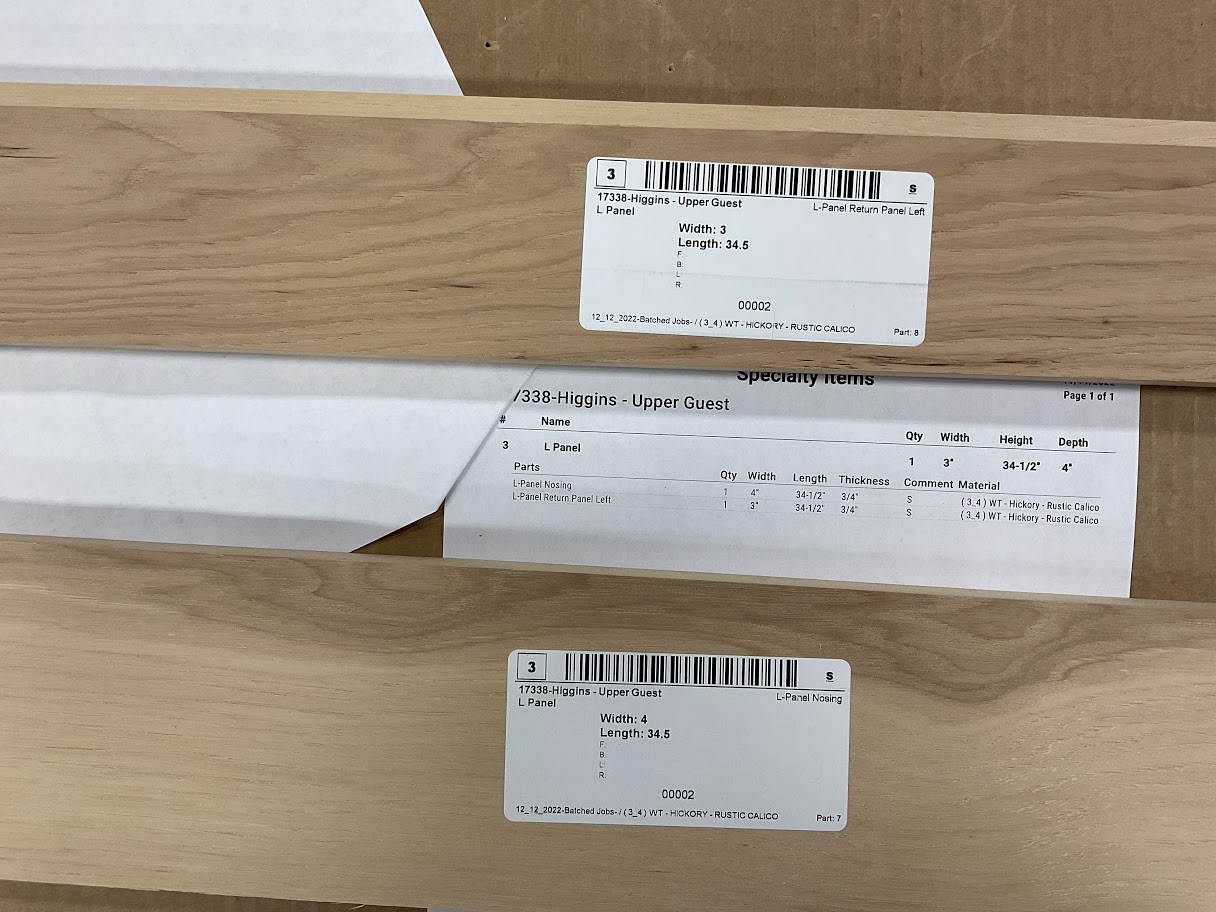 |
|
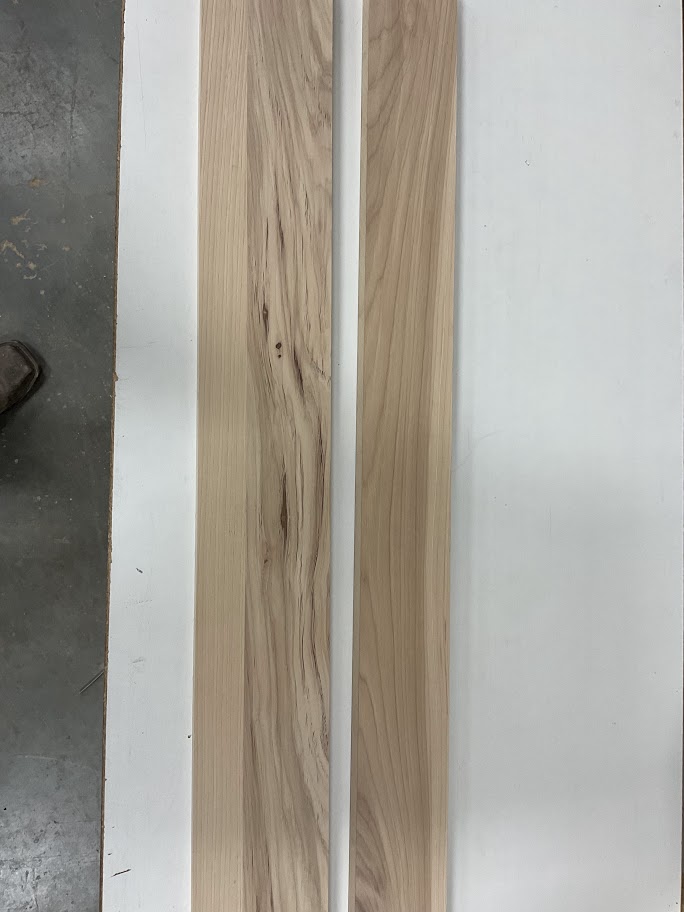
3. Inspect your material for any imperfections If any imperfections are found, inform our supervisor before continuing! |
 |
Assembly
|
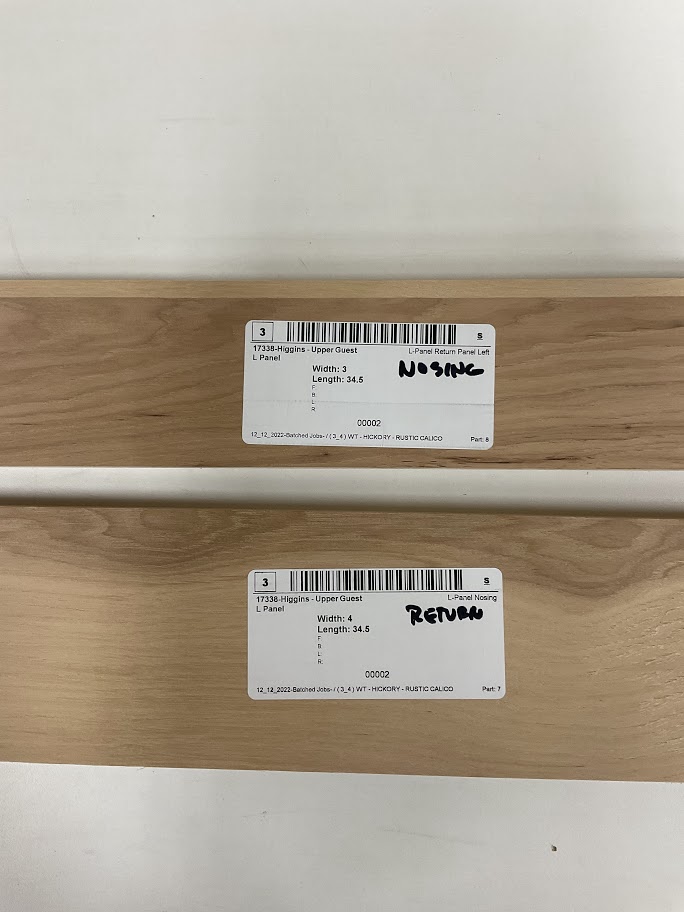
1. Once parts are inspected, determine which part is your return panel and which is your nosing Note that typically your return panel will be your wider part |
 |
2. Use the Lock Miter to cut our nosing and return panel
Refer to the Lock Miter Instruction Procedure for proper equipment usage
| 3. Apply two strips of glue to your return panel | 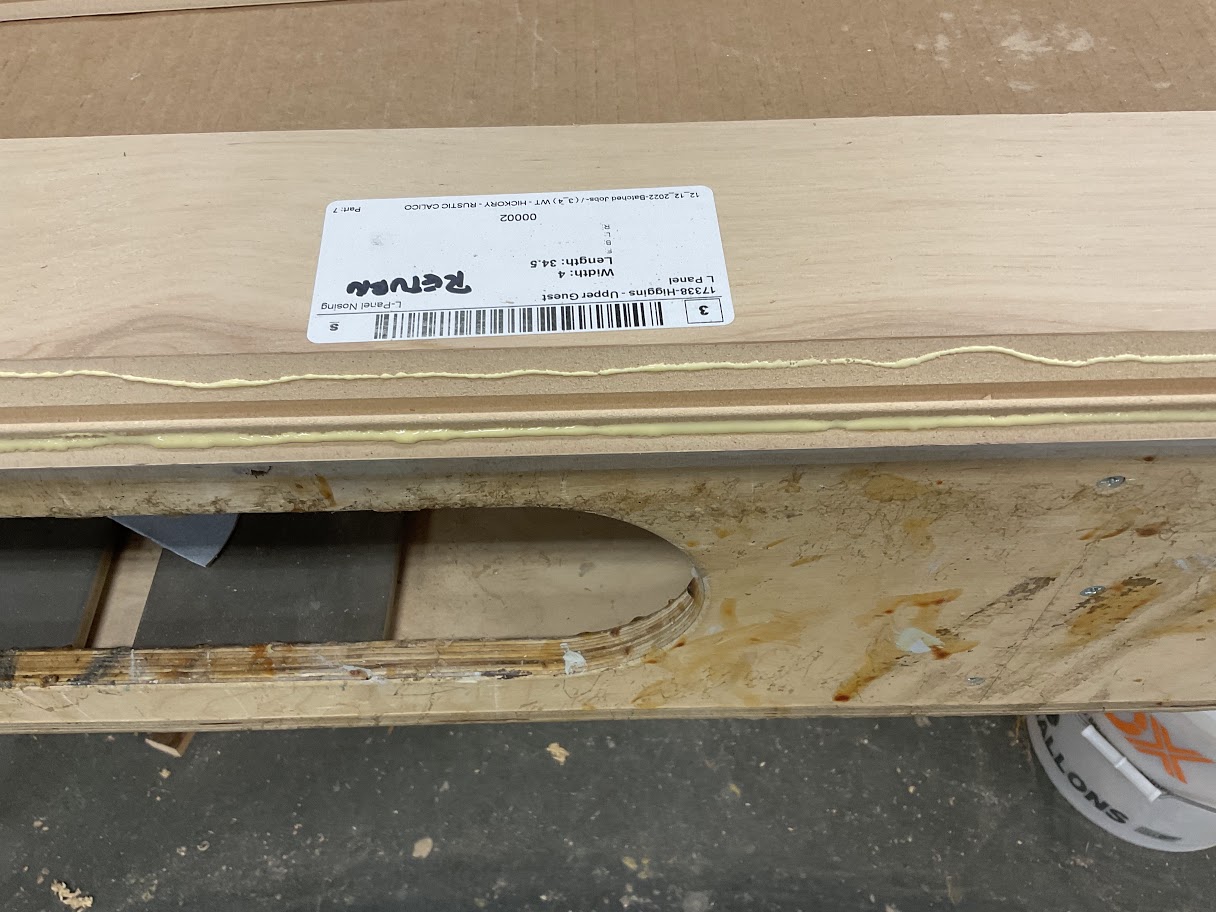 |
| 4. Place your nosing on the return panel ensuring each side is flush | 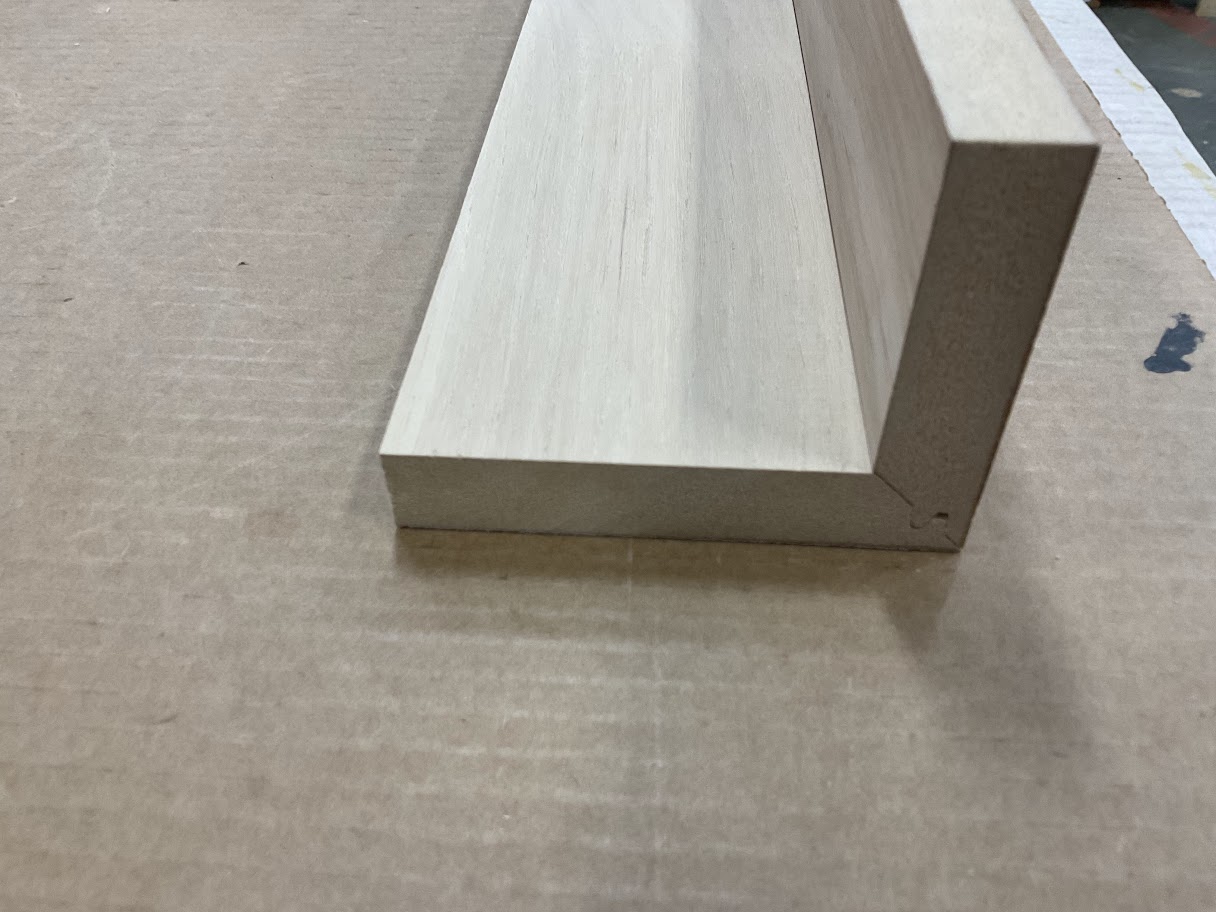 |
| 5. Apply clamps to join the two parts together and set our egg time for 10 minutes | 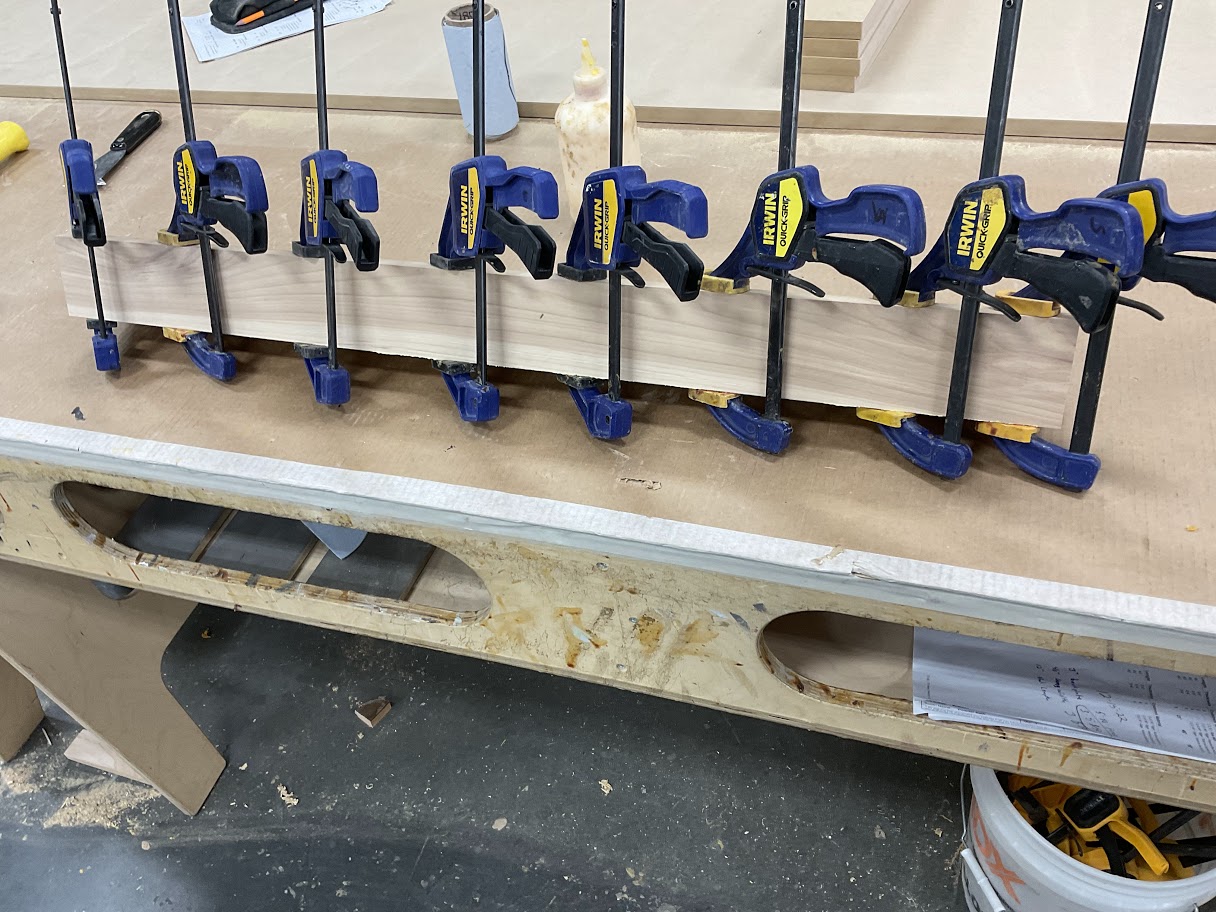 |
Finish Part
1. Once glue has dried remove all unwanted glue that seeped through
2. Use orbital sander to give the finished peace a smooth finish
Note 180 grit sandpaper is ideal for this step
3. Roll jointed edge with round metal dowel to mash the fibers at the seem