Doweler Instruction Procedures
Dowler Instructions
Powering on Machine
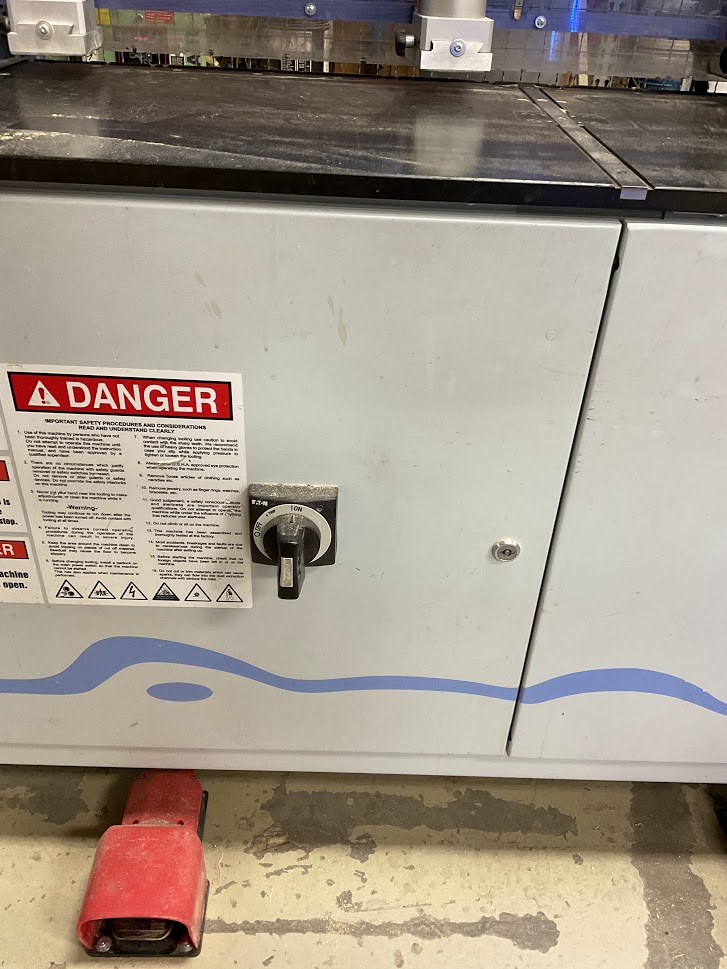
| 1. Turn switch located on the bottom left. |
 |
| 2. Press “Control Power” button (see image 2) |
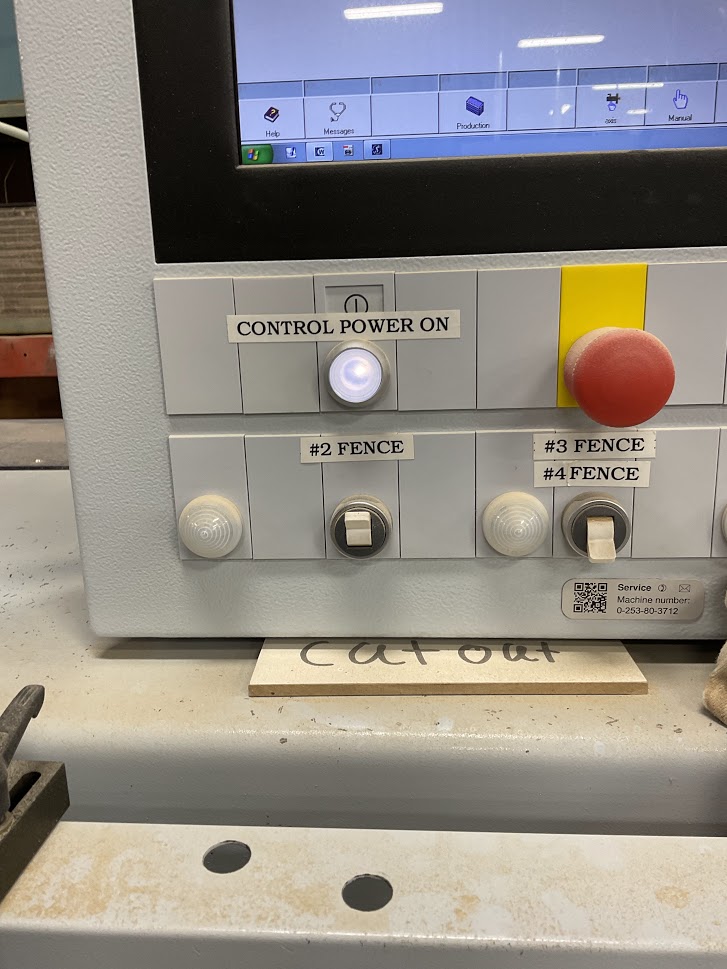 |
| 3. Enter Password "Weeke" |
|
| 4. Click “Production” |
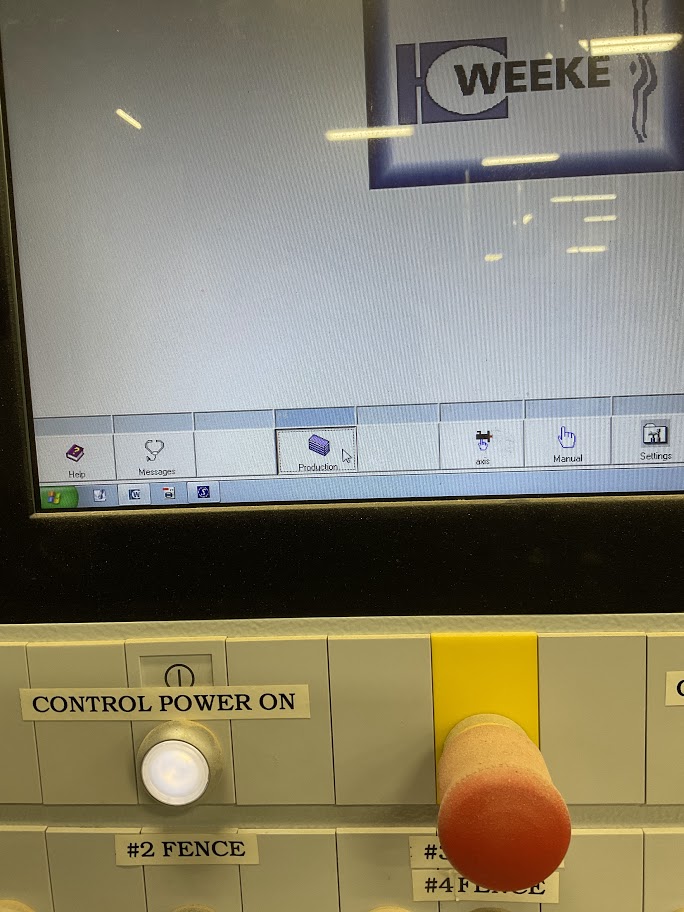 |
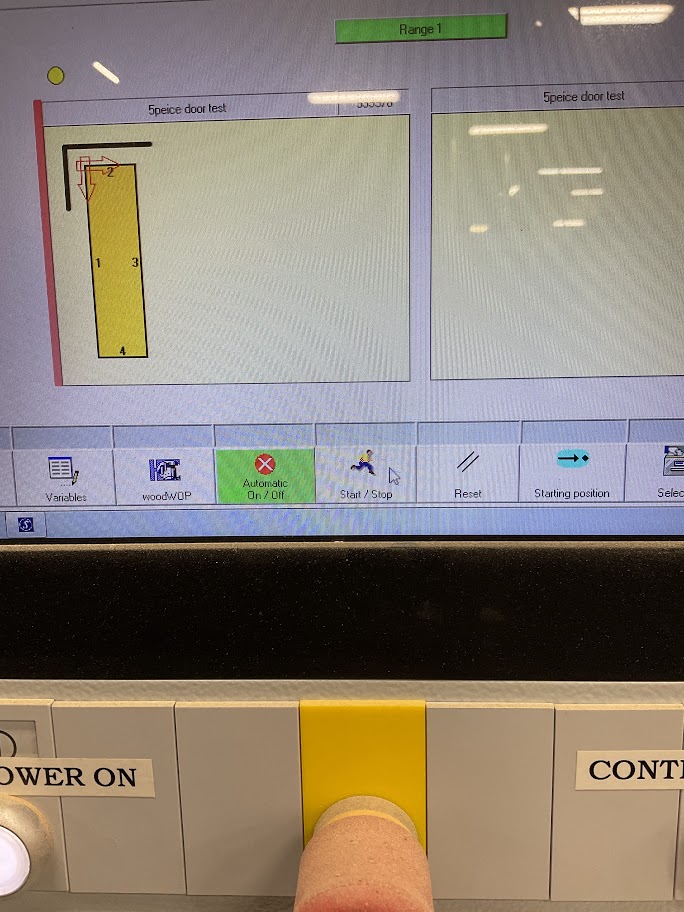
| 5. Click “Automatic” icon located at the bottom of the screen |
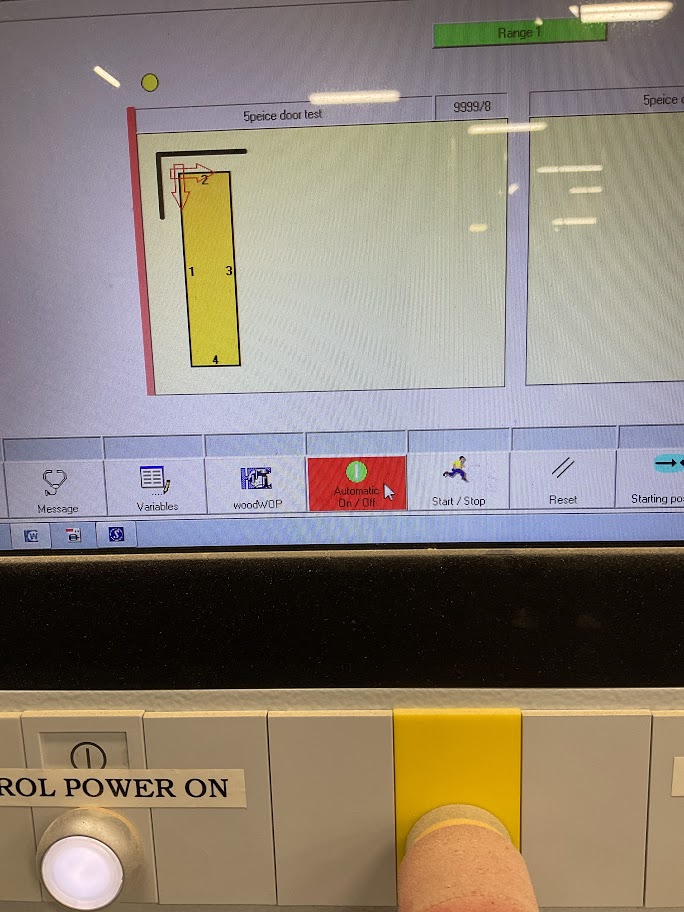 |
| 6. Click “Start/Stop” icon located at the bottom of the screen |
 |
Have the employee run through the steps while your explaining to help better understand where exactly everything is.
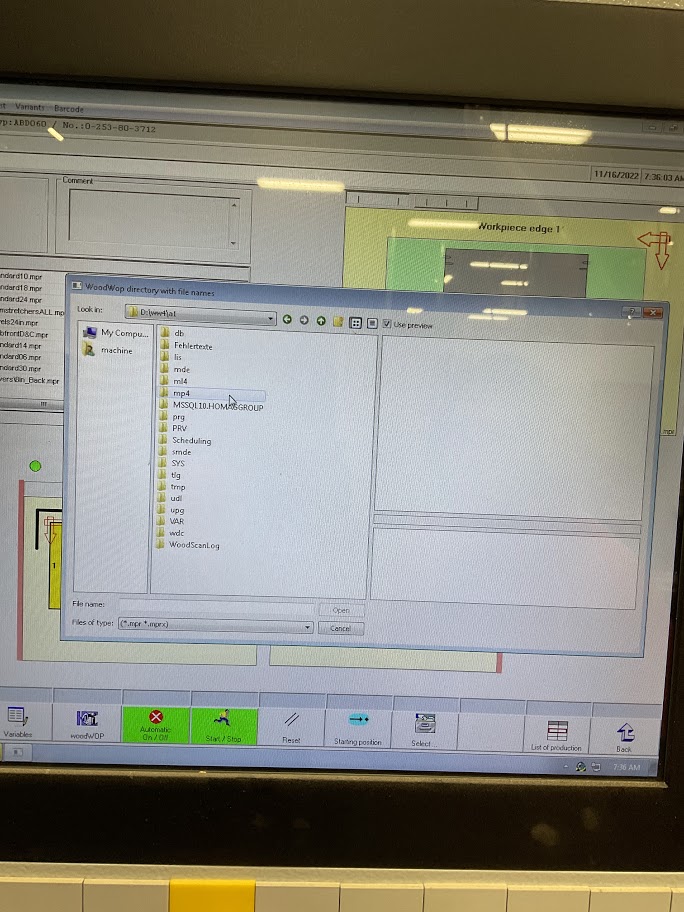
Set up Pathways
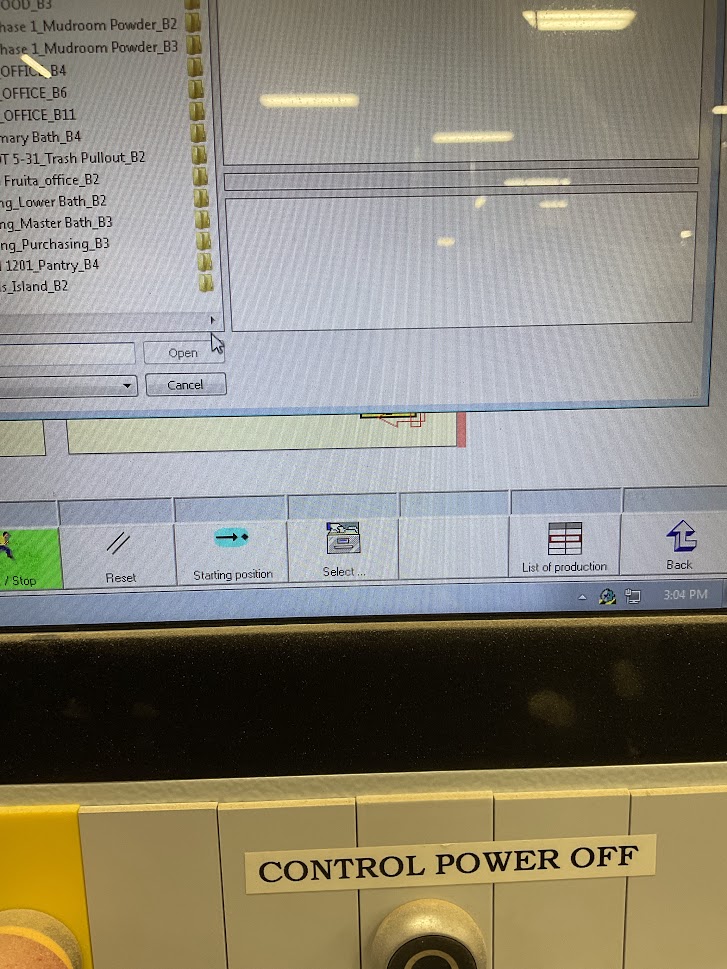
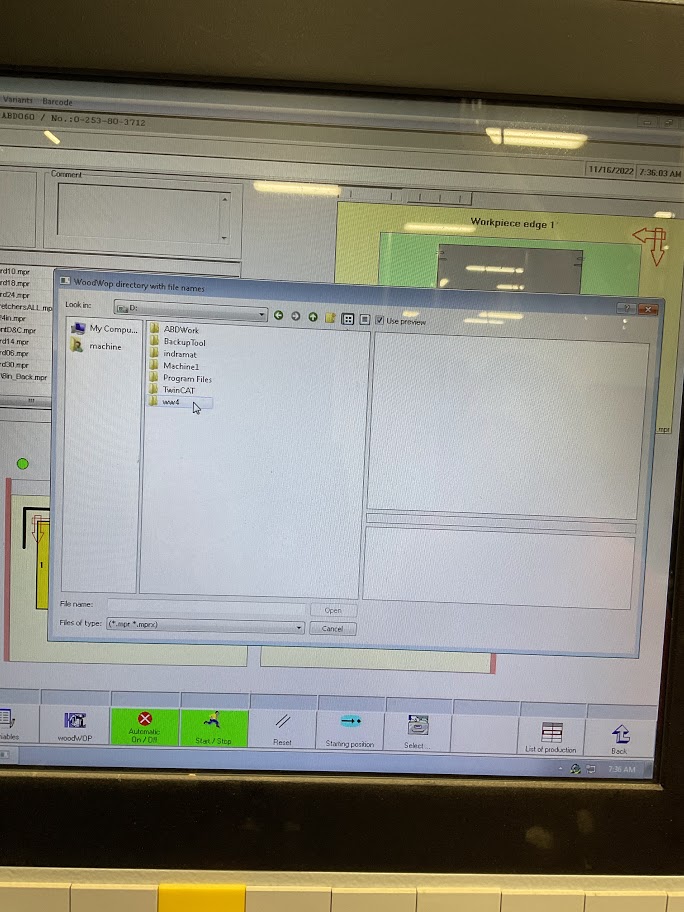
| 1. Click Select icon located in the bottom toolbar |
 |
| 2. Open path “HMI_DATA(D:)” |
 |
| 3. Open folder “ww4” |
 |
| 4. Open folder “a1” |
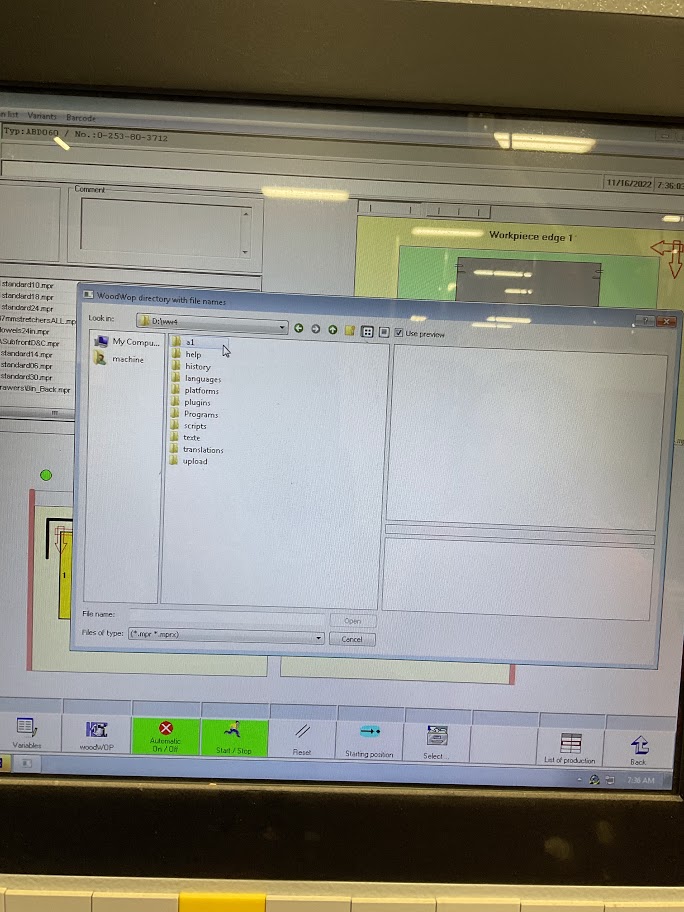 |
| 5. Open folder “mp4” |
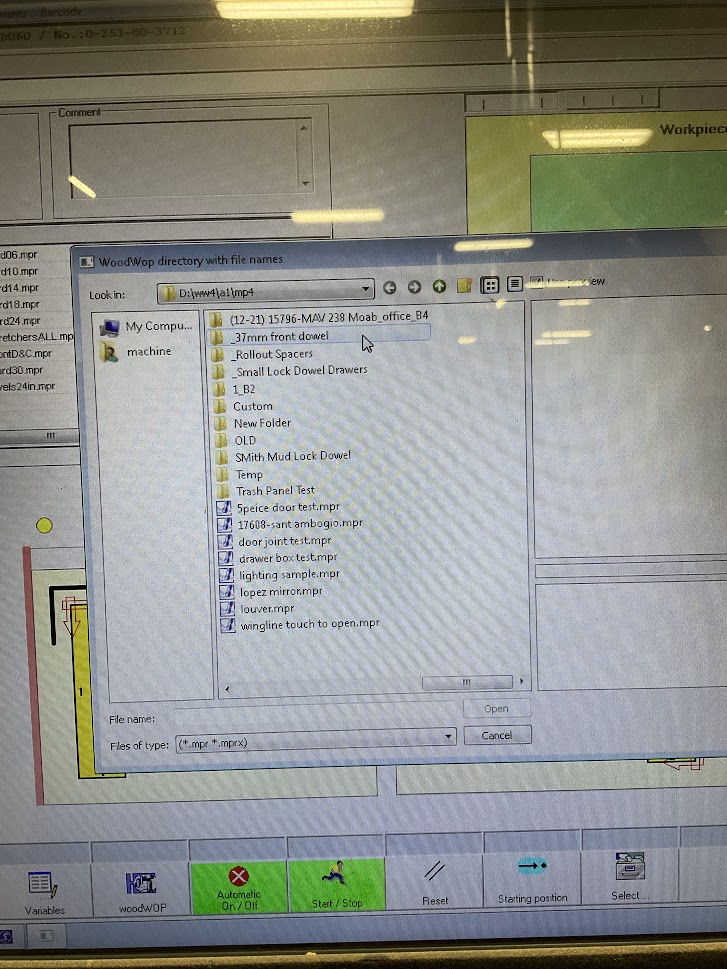
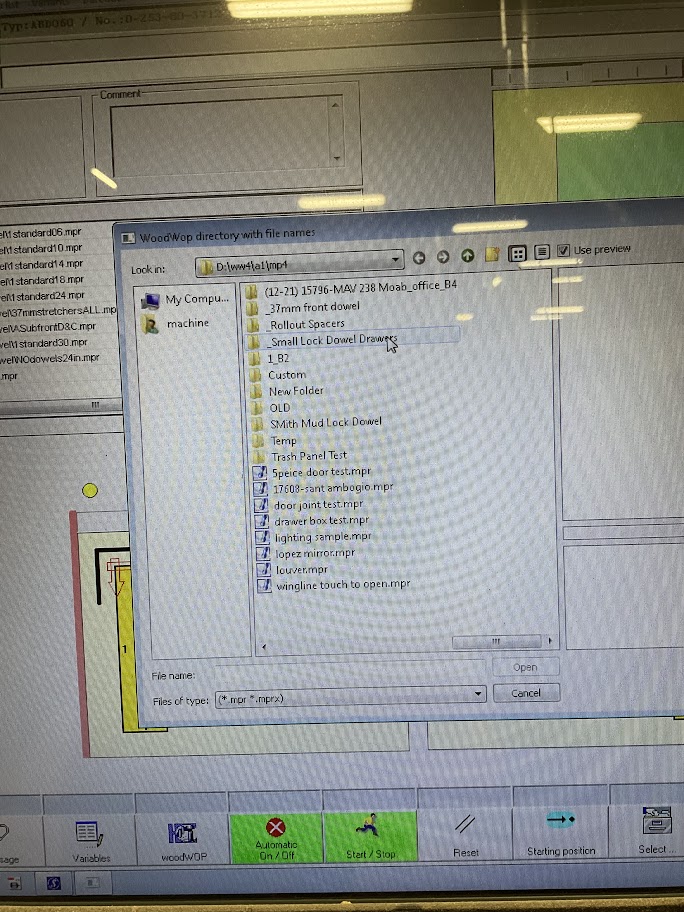
 |
| 6. Select “37mm front dowel folder” and/or “small lock dowel drawer folder” |
  |
1. Click Select icon located in the bottom toolbar |
|
1. Click Select icon located in the bottom toolbar |
|
1. Click Select icon located in the bottom toolbar |
|
1. Click Select icon located in the bottom toolbar |
|
1. Click Select icon located in the bottom toolbar |
|
6. Select “37mm front dowel folder” and/or “small lock dowel drawer folder” (see image 11 & 12)
7. Dowel parts will have dowels in all drilled holes
| 8. Standard parts will have a dowel in the front drilled hole and all other holes will be pre-drilled for screws |
|
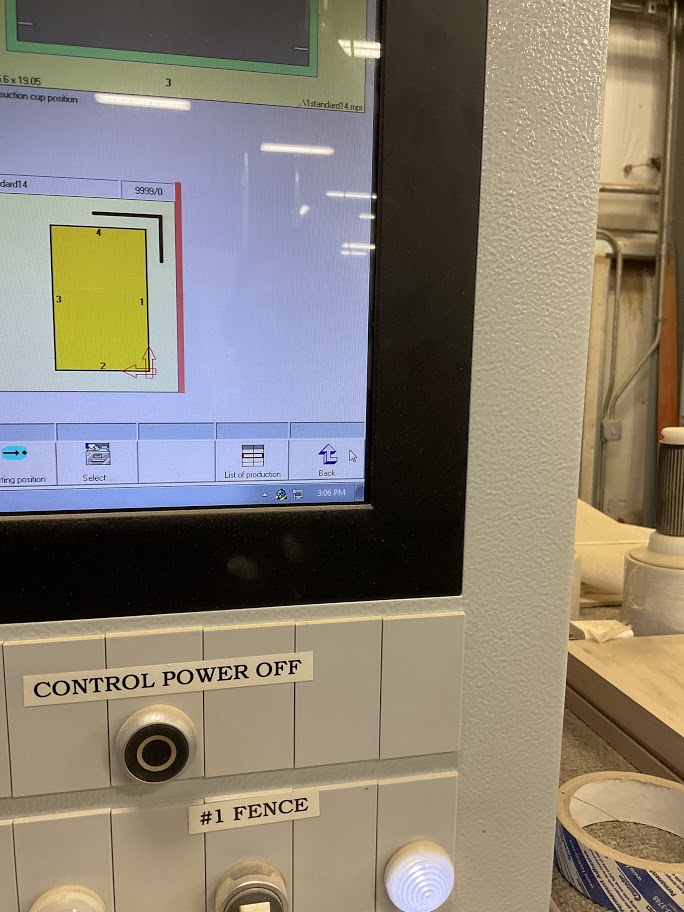
| 9. Find the file that matches the part label |
(see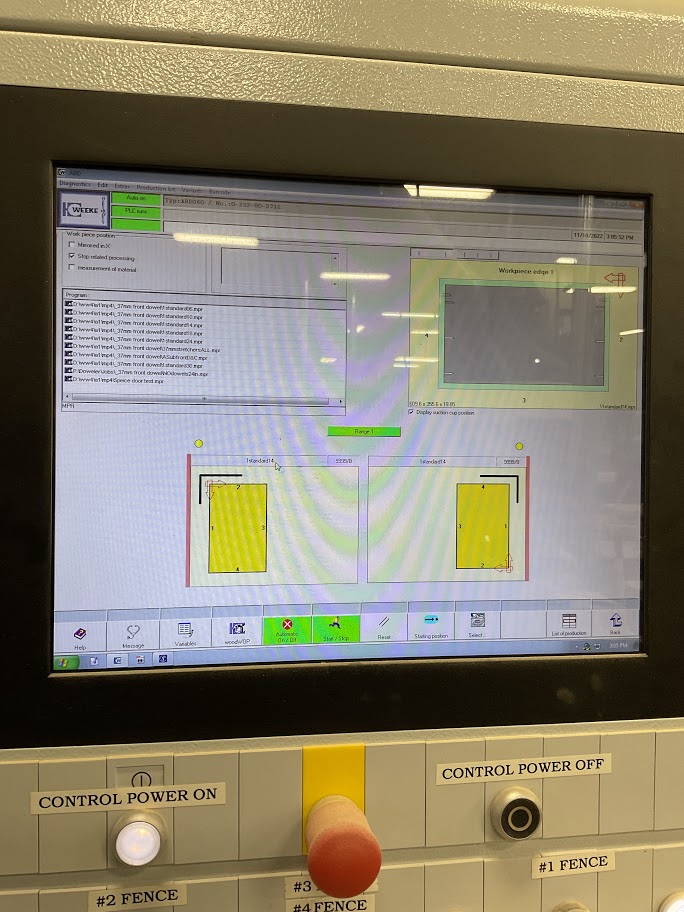 |
image
13)
| 10. Open file by double clicking |
| 11. Verify the file opened matches the production label on the production part |
Be sure to show the employee were to find the information that will be needed to ensure the right file is selected and if other steps are needed.
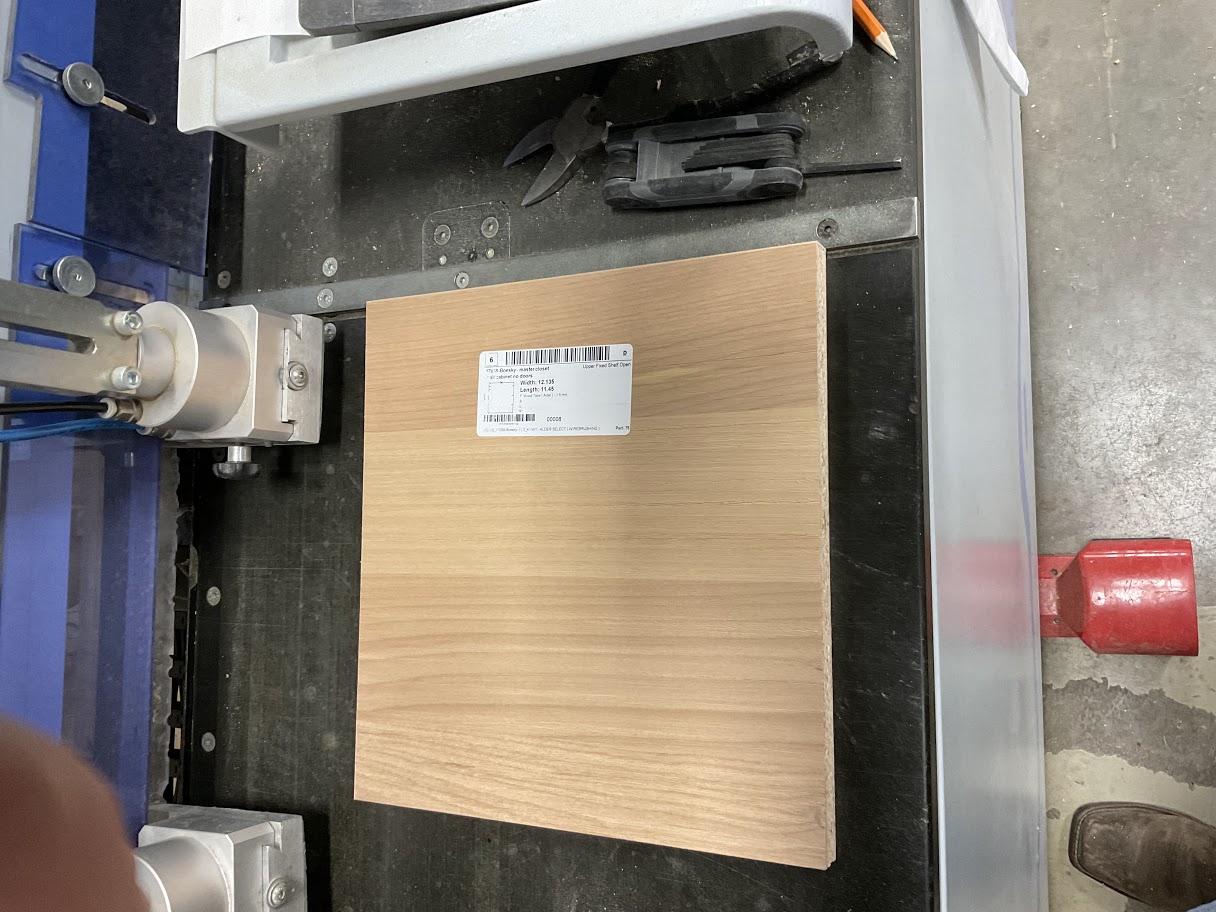
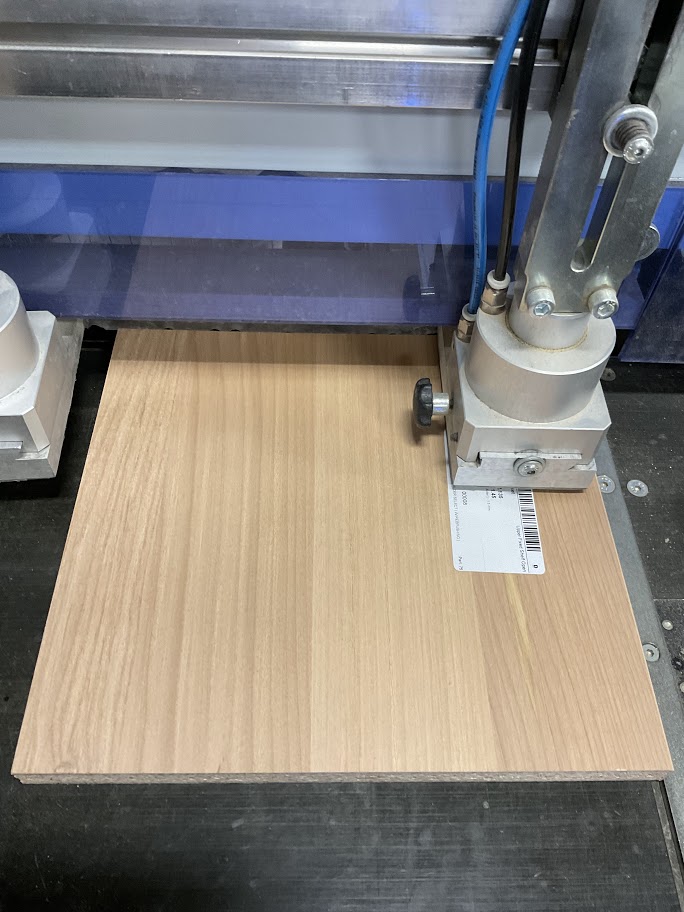
Running parts through Doweler
| 1. Match file selected with part label |
| 2. Adjust clamps if needed |
3. Place the front edge of the part against the fence with the cabinet interior up.(seeup |
image 14)
 |
| 4. Push part forward slowly till it stops |
(see image 15)
 |
| 5. Step on the foot petal according to the side you are on |
(see image 16)
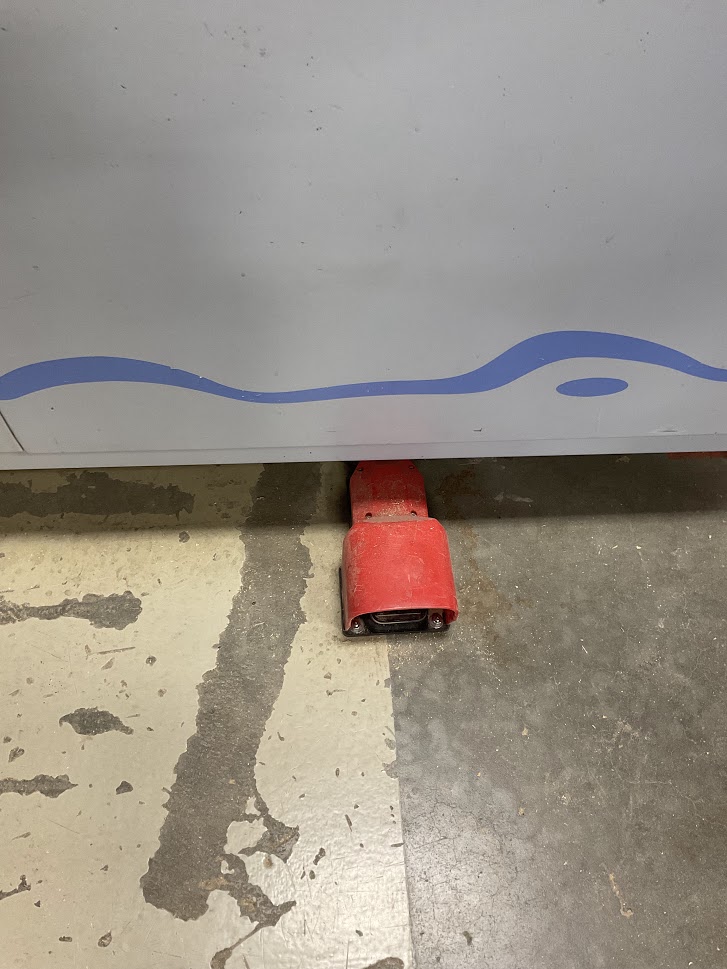 |
| 6. Repeat till work cart is complete |
7. When the cart is complete take it to the next department. Wood finish parts without dowels to go to the paint bay.bay |
Explain to the employee that it is very important for to verify the label on every part ensuring the right file is selected before running each part. If part is a face 6, that part need to go through the BHX first.
End of Day Power Down
| 1. Use the air compressor to blow off the outside for the machine only. (do not use compressor under the hood) |
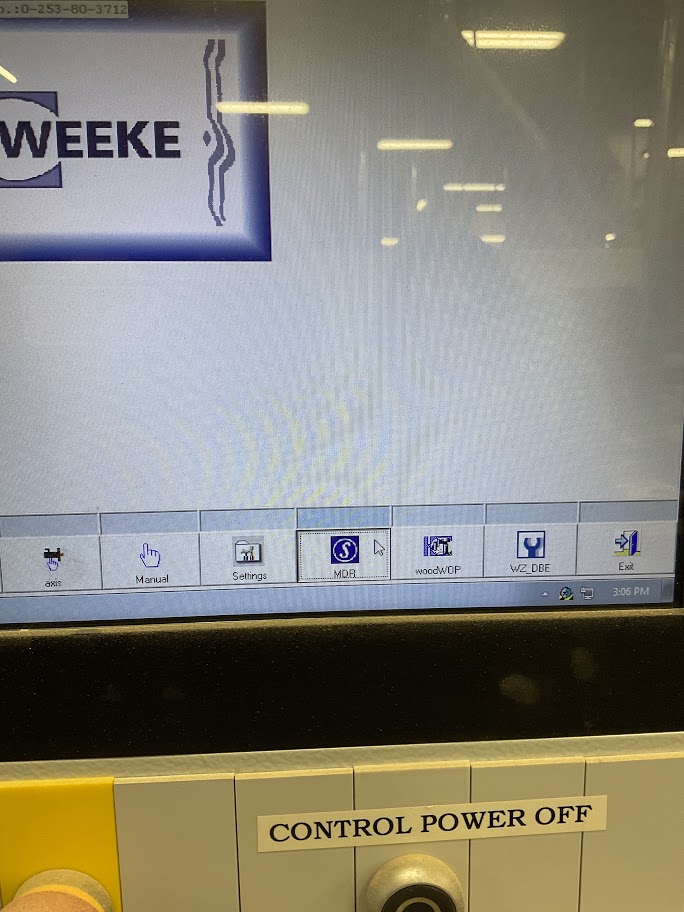
2. Click the “Back” icon located on the bottom right hand of the computer screen.screen |
(see image 17)
 |
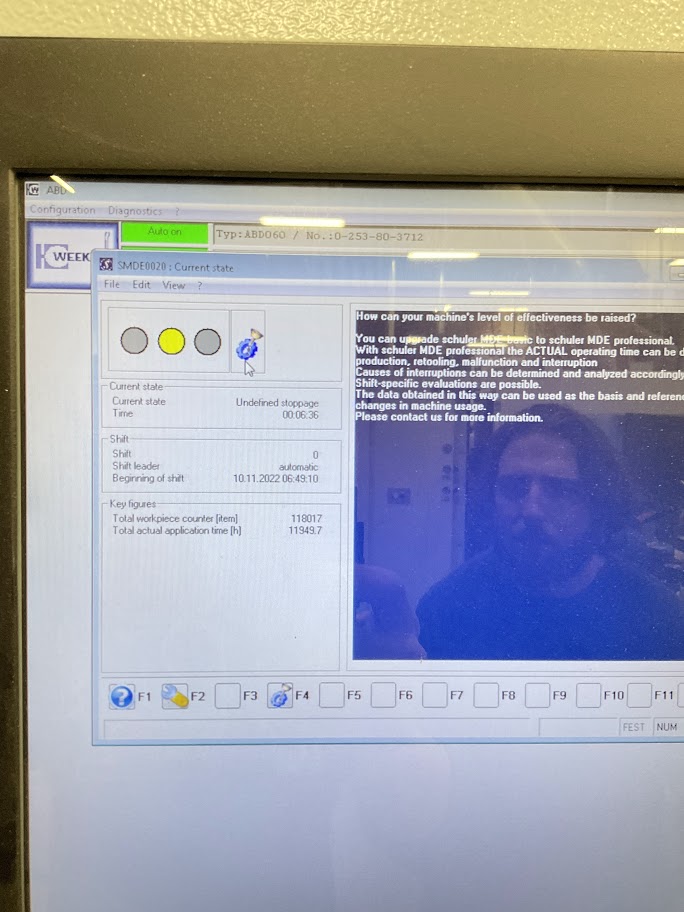
| 3. Click “MDR” icon |
(see image 18)
 |
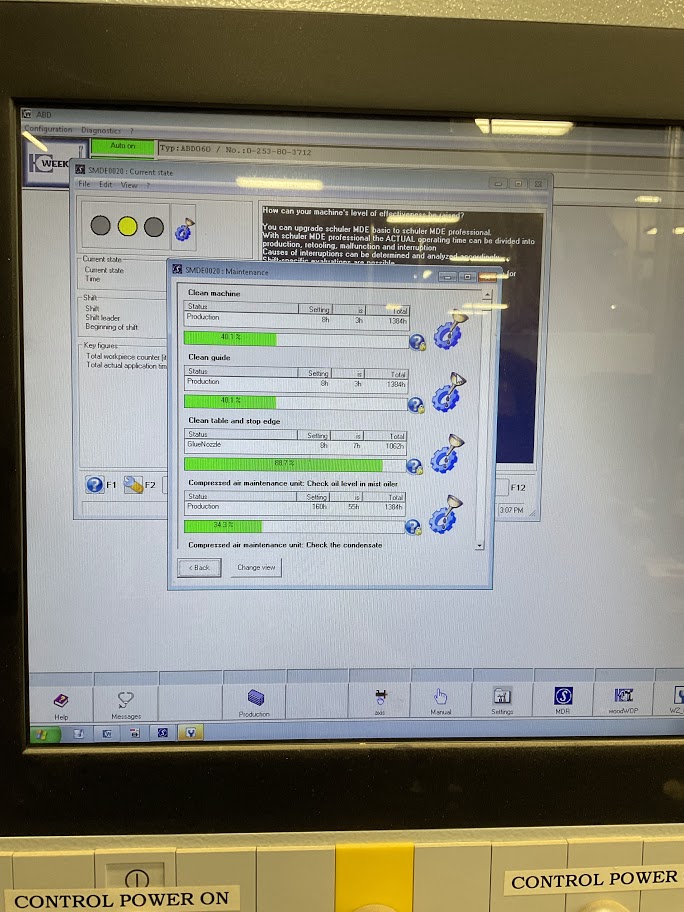
| 4. Click the oil can and gear icon |
(see image 19)
 |
|
5. Check the maintenance report for any weekly maintenance needed.needed
(see image 20 )
(check with supervisor before doing any maintenance)
|
 |
6. If maintenance is required and/or completed click the windows icon at the lower left of the computer screen.screen |
(see image 21)
|
| 7. Click “Shutdown” and wait for the computer to power off |
| 8. Turn power switch off (see image 22) |
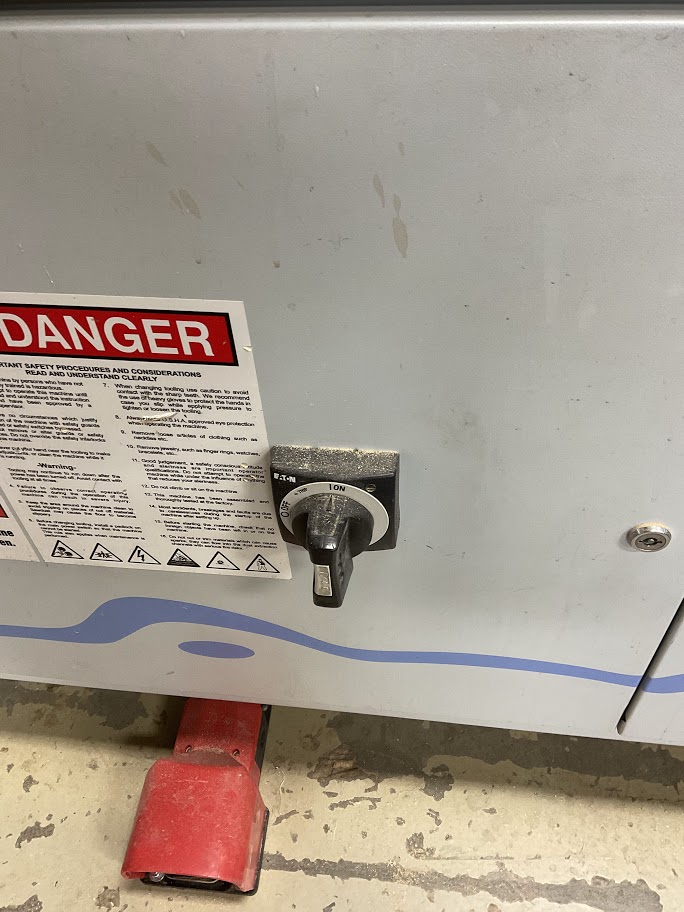 |