| **1. Press “Feed Start”** | **[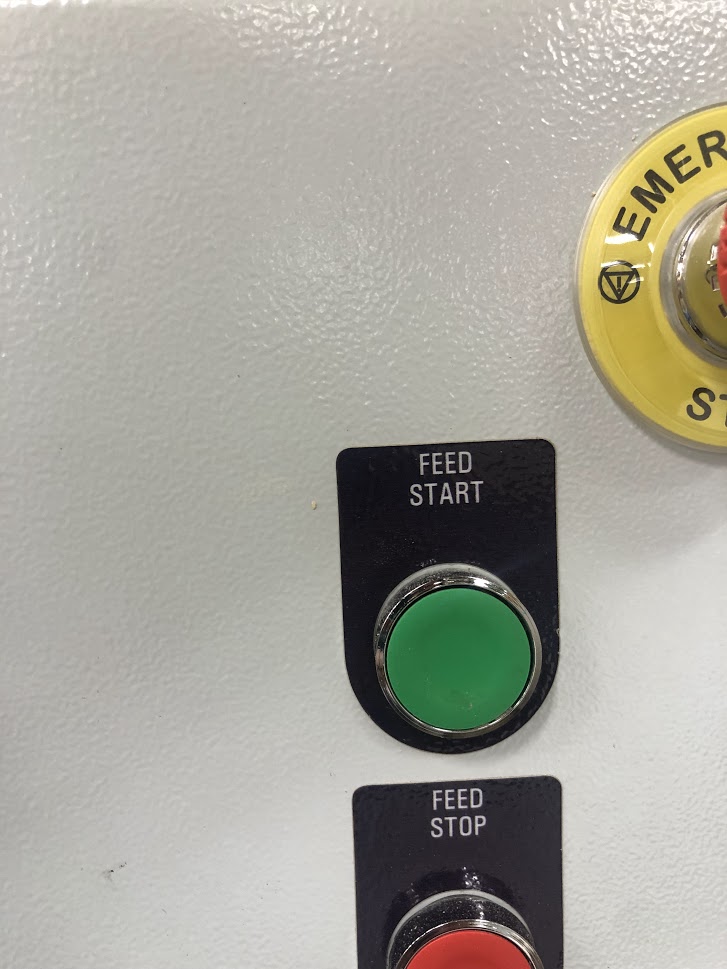](http://help.homesteadcabinet.net/uploads/images/gallery/2022-11/image-1.jpg)** |
| **2. Press “Heads Start”** | **[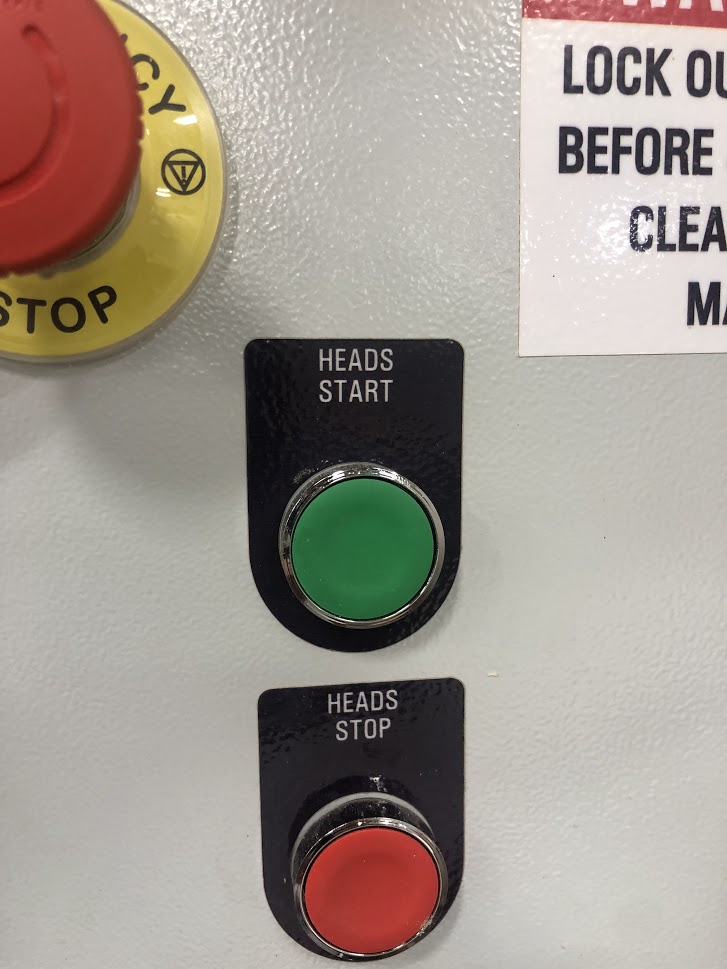](http://help.homesteadcabinet.net/uploads/images/gallery/2022-11/image-2.jpg)** |
| **3. Set feed speed to the part to be tooled** | **[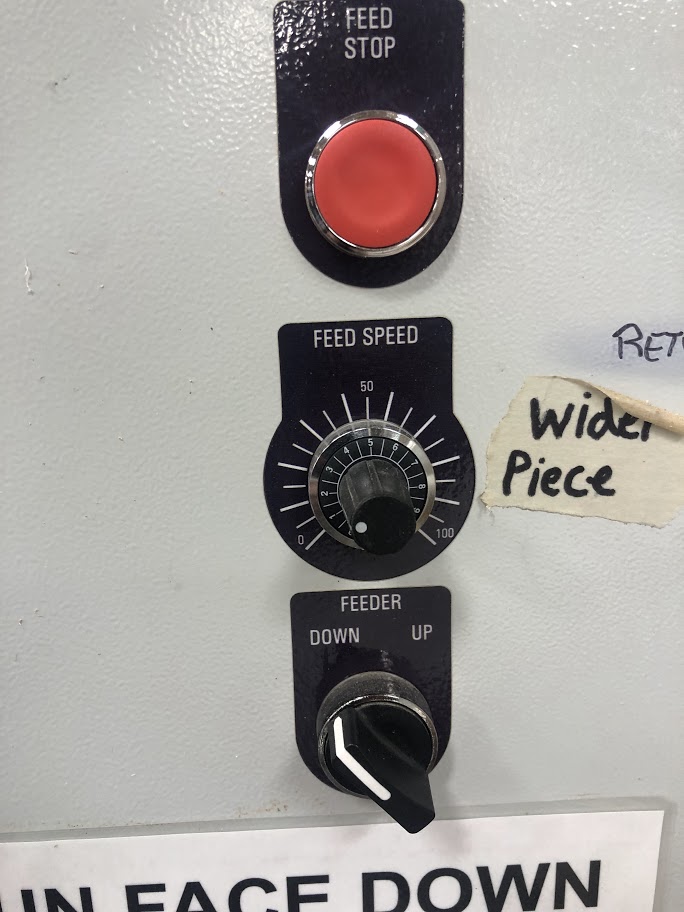](http://help.homesteadcabinet.net/uploads/images/gallery/2022-11/0Usimage-3.jpg)** |
| **4. Set machine to the proper cut as explained on the paperwork given (Return cut or Nosing cut)** | **[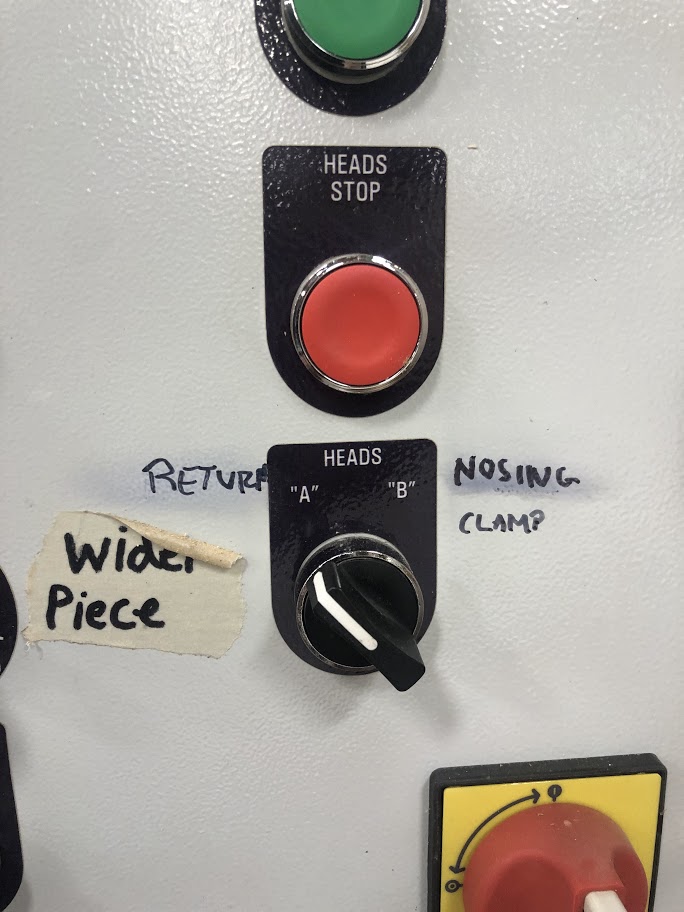](http://help.homesteadcabinet.net/uploads/images/gallery/2022-11/3Z8image-4.jpg)** |
| **5. Set feeder height to parts thickness** | **[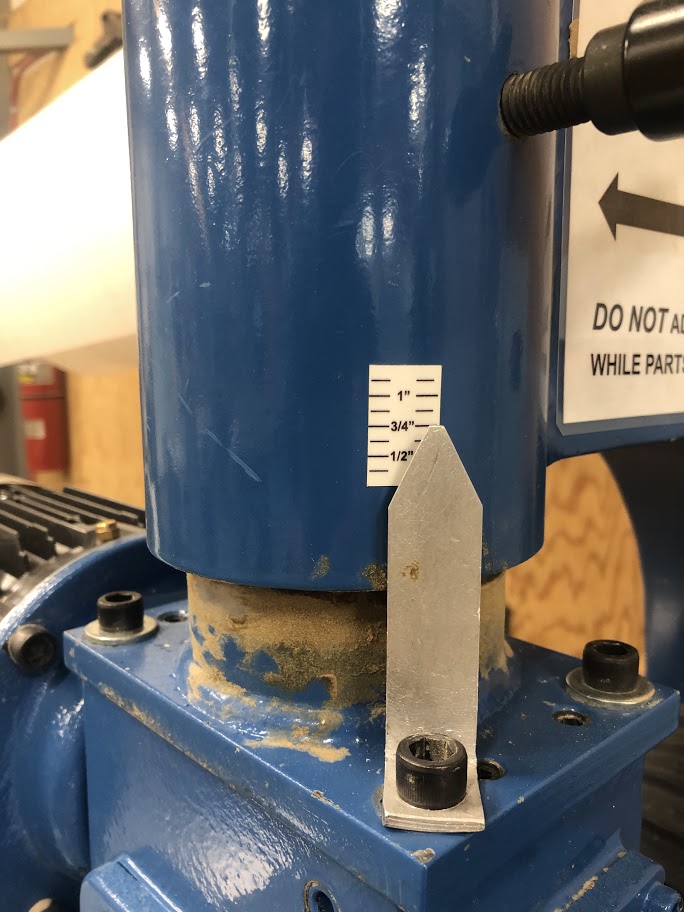](http://help.homesteadcabinet.net/uploads/images/gallery/2022-11/vCKimage-5.jpg)** |
| **6. If part is 1 ¾” or less select and attach proper jig before running through the machine** | **[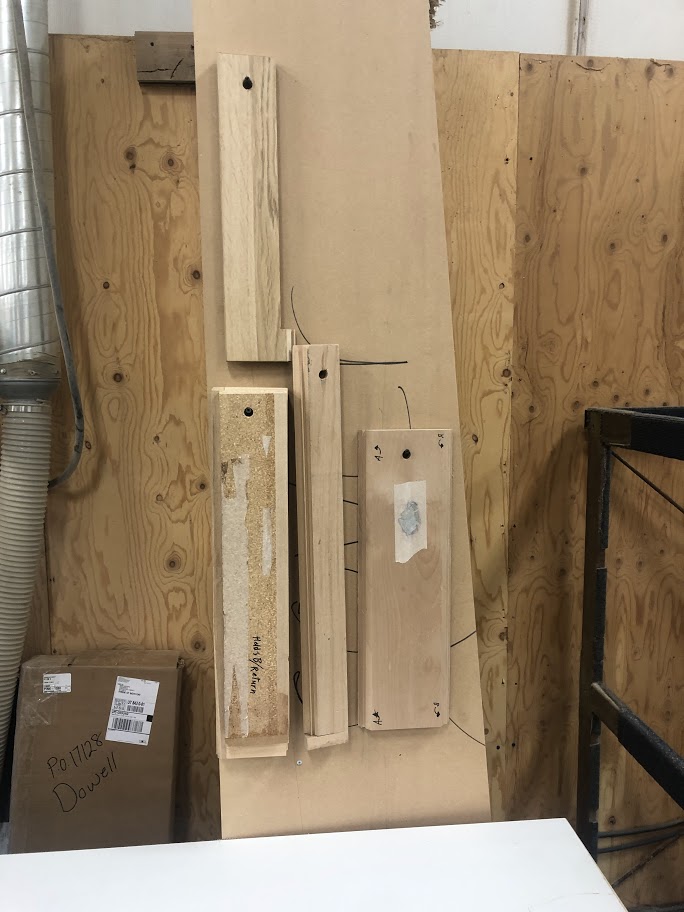](http://help.homesteadcabinet.net/uploads/images/gallery/2022-11/hpnimage-6.jpg)** |
| **7. Feed part face down with side to be mitered against the fence** | **[](http://help.homesteadcabinet.net/uploads/images/gallery/2022-11/24Simage-7.jpg)** |
| **8. Inspect mitered edge for chips, cracks, ext. or if part need to be passed through the machine again (need a smooth sharp cut)** | **[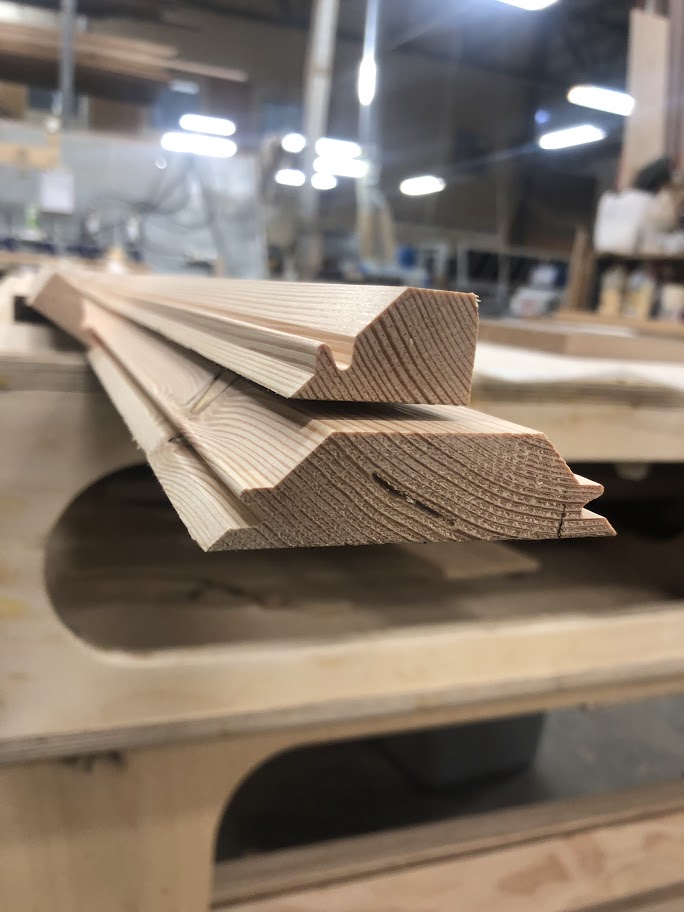](http://help.homesteadcabinet.net/uploads/images/gallery/2022-11/3EHimage-8.jpg)** |
**Explain to the employee the importance of insuring the machine is set to the right cut for each piece. Explain to the employee why part need to be face down when ran through the machine. Explain to the employee why it's important to use a jig if part is 1 3/4" or smaller.**
| **Press “Feed Stop”** | **[](http://help.homesteadcabinet.net/uploads/images/gallery/2022-11/image-1.jpg)** |
| **2. Press “Heads Stop” (see image 2)** | **[](http://help.homesteadcabinet.net/uploads/images/gallery/2022-11/image-2.jpg)** |
| **3. Set feeder height back to 3/4 (see image 5)** | **[](http://help.homesteadcabinet.net/uploads/images/gallery/2022-11/vCKimage-5.jpg)** |
**Explain to the employee way the machine needs to be set back to ¾”. Explain the importance of cleaning the machine before leaving.**